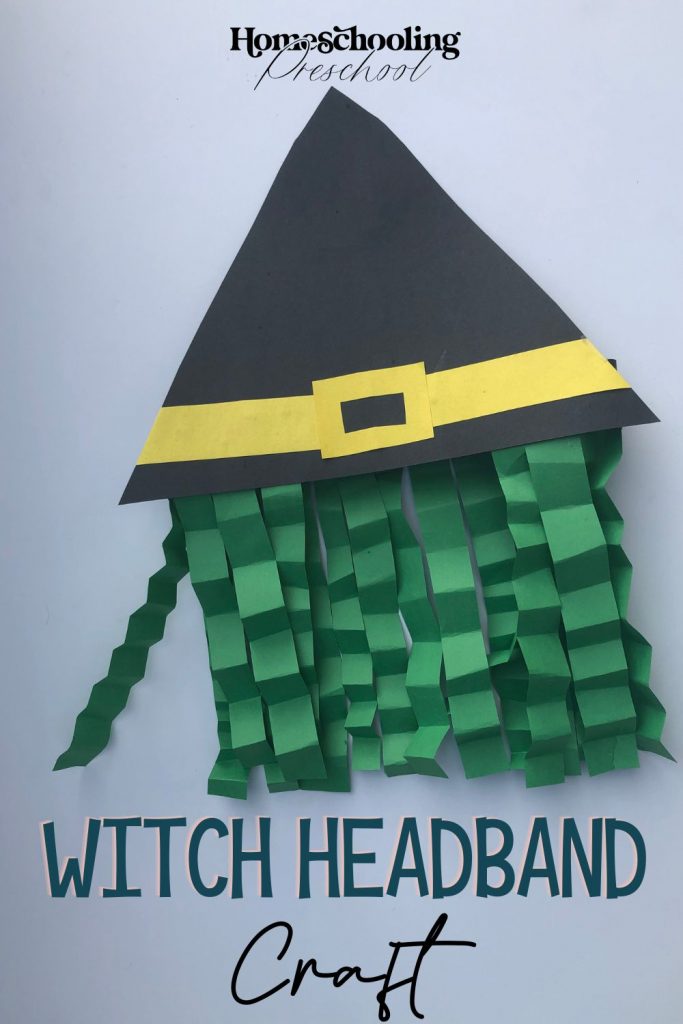
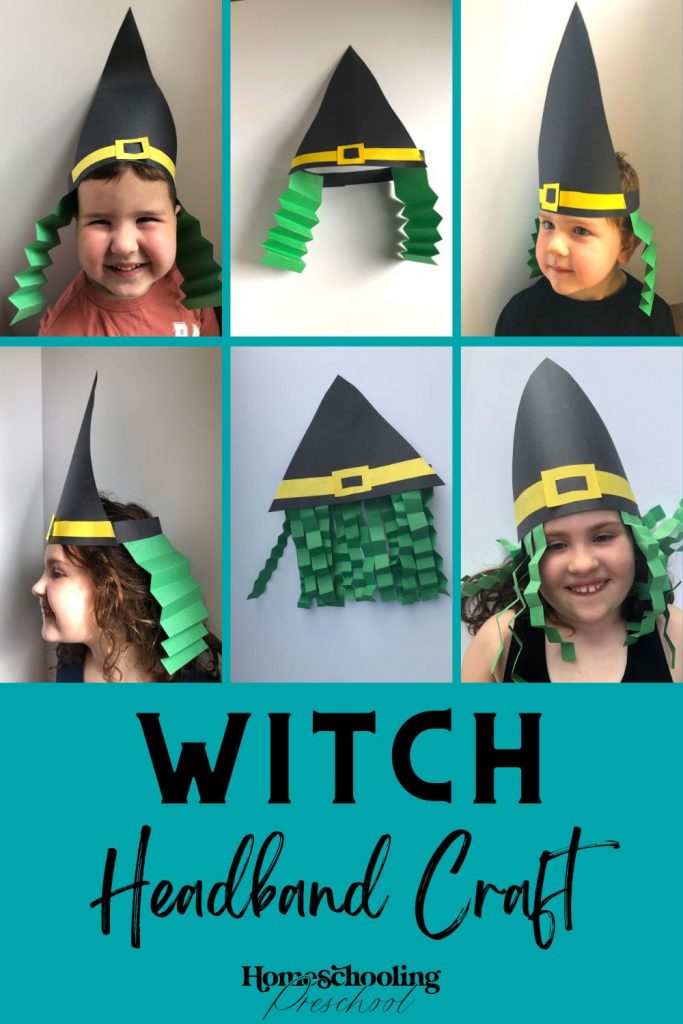
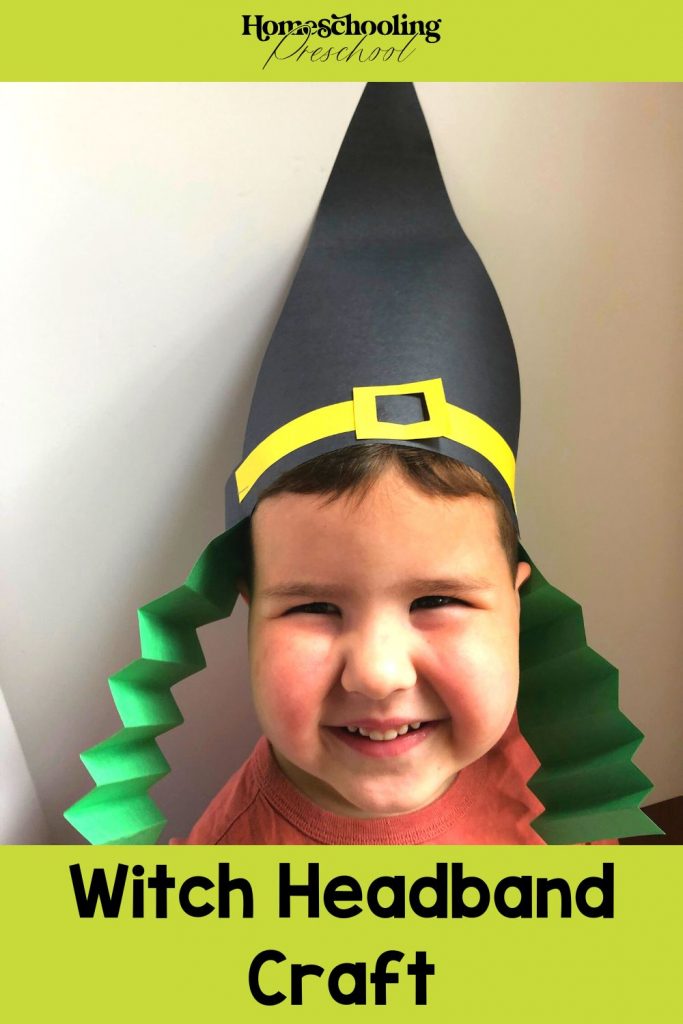
Witch Headband Craft
There will be plenty of laughs when your little one tries on her witch craft headband.
She will love making and wearing it!
Why Make a Witch Craft
Preschoolers love pretending to be someone or something else and for good reason.
The preschool brain learns how different people and items are portrayed by seeing how others interact with the person or item.
If everyone runs scared when she pretends to be a witch, she will know that most people are frightened by them and she should be too.
By allowing her to pretend play, you are allowing her to also learn about how her language and actions affect others.
This witch craft is a great way for your preschooler to get involved in the creative process.
Allow her to place the elements on the hat as she pleases.
If she doesn’t want to add the hair, or she wants the hair to be a different color, allow her this creative freedom.
This shows her that you value her opinion and that she has a say in this craft.
You can choose how involved your little one gets in this witch craft.
If you want to practice scissor skills, draw the lines of the hat and buckle and have her cut them out.
Maybe this is too much for her.
You can cut the items out and allow her to place the buckle how she likes.
You know her best, so feel free to change things up as needed.
This witch craft is part of our Homeschooling Preschool Curriculum: Week 6b which is all about Halloween!
Items Needed
- construction paper (black, yellow, green)
- glue
- tape or stapler
- scissors
How to Make a Witch Headband Craft
1 – Cut out a large triangle from the black paper.
The easiest way to do this is to fold your black paper in half and cut a diagonal line from one corner to the corner diagonally opposite.
You will want to make sure you start on a corner that is not on the fold and cut diagonally toward the fold.
2 – Make the headband part by cutting strips of black paper about an inch wide.
Cutting two strips of paper (the long way) should be enough to fit your little one’s head.
3 – Cut out a yellow strip of paper as wide as your black triangle.
This will be the strap that the belt goes in.
4 – Cut out a yellow square to make the buckle.
If you want the square to have the middle cut out like a buckle, fold the square in half and cut out a smaller square.
When you unfold it, you should have a square cut out of the larger yellow square.
5 – Glue the yellow strip and buckle on the bottom of your black triangle.
To make the strip not be seen behind the buckle you will need to cut your strip into two pieces.
Glue the buckle piece on first and then fit the strips on both sides of the buckle and glue it on.
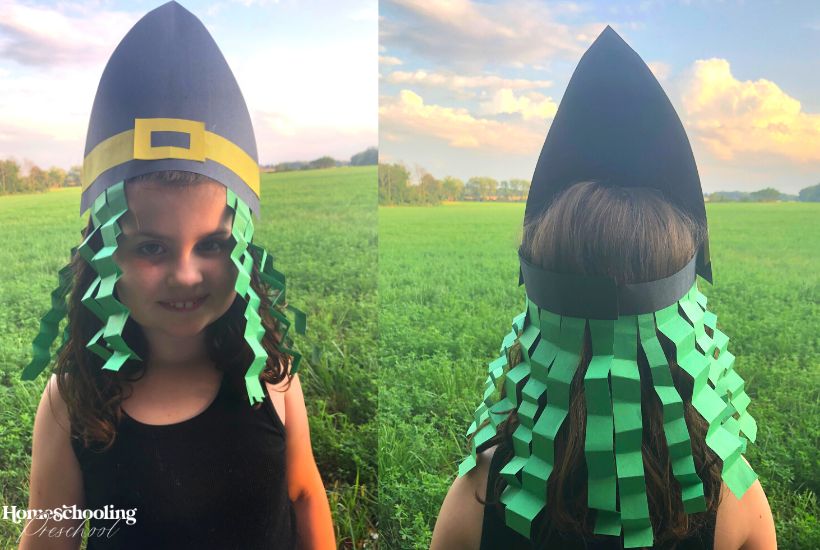
6 – Attach the black strips to the edges of the triangle.
Wrap the strips around your little one’s head and then attach the strips together.
Tape or staples will hold better than glue (and will make it so that your little one can get to using the hat right away).
7 – Cut out 1-inch strips of green construction paper.
Either roll or accordion fold the paper.
Attach them around the headband (and a few to the bottom of the hat) to make the witch’s hair.
Witch Craft
Not only a witch craft, but this activity is also a prop for dramatic play.
This craft is twice the fun with the work (and mom’s involvement) of only the craft!
What a mom win!