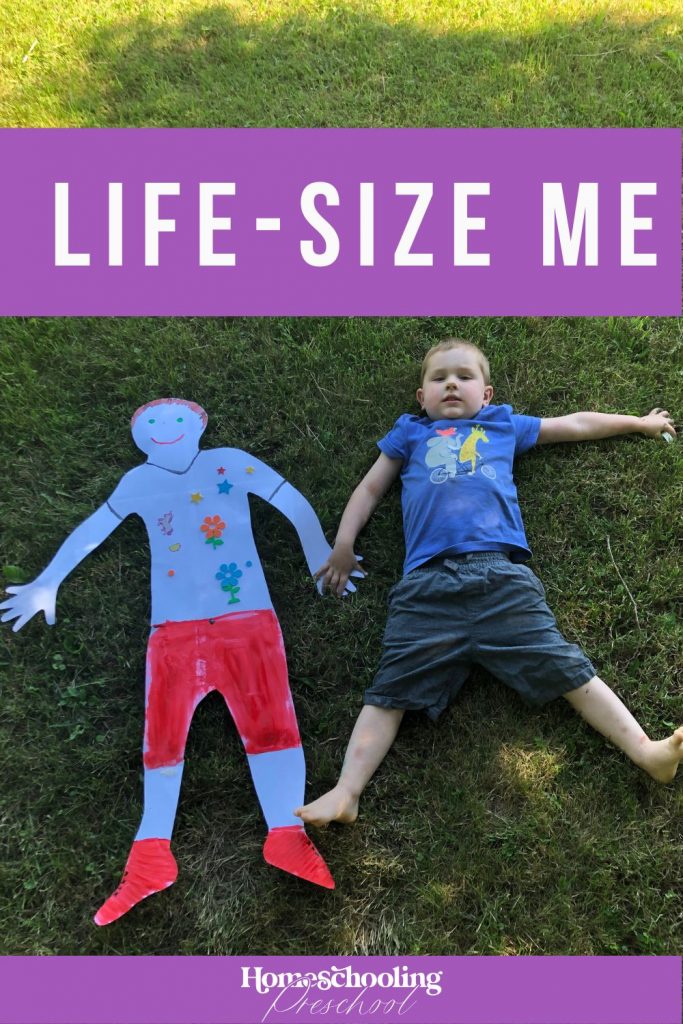
Life-Size Me Craft
Your little one will love creating a life-size version of himself!
He will even be able to decorate it so it reflects how he sees himself.
It’s the perfect All About Me craft!
This article may contain affiliate links to products that may help you when homeschooling preschool.
Why Make An All About Me Craft
Kids LOVE to talk about themselves.
This all about me craft is a perfect way to hand over the reins and to allow them to take charge– when it comes to decorating at least.
You can learn a lot about how your child views himself by how he chooses to make himself look and how he describes himself.
Talking through what his eyes, nose, ears, and hair all look like will help you to see how he feels about different parts of his body.
An all-about-me preschool craft is a great way to lead to positive self-talk.
Starting with this young will help your child to have a more positive outlook on the way he views himself.
If you are looking for more ideas to add to your all about me craft, we have a Homeschooling Preschool Curriculum.
Week 2 is All About Me week!
When you are done making the craft you can use it to measure how many “child long” the table or living room are.
Have your child measure how many of his feet it takes to go the same distance.
Both are great ways to sneak in counting practice.
Items Needed to Make the Craft
- sheets of paper or a roll of craft paper or butcher paper
- tape
- items for decorating (paint, markers, stickers, etc.)
- scissors

How to Make a Preschool Life-Size Me
1 – Tape together pieces of paper so they slightly overlap.
Be sure to tape the entire length and width so the paper doesn’t get floppy.
You may need to add a small piece to the front to add stability.
The pieces need to be long enough and wide enough that you are able to trace your child.
You can use a roll of craft paper or butcher paper but it can be expensive to buy and white printer paper works well!
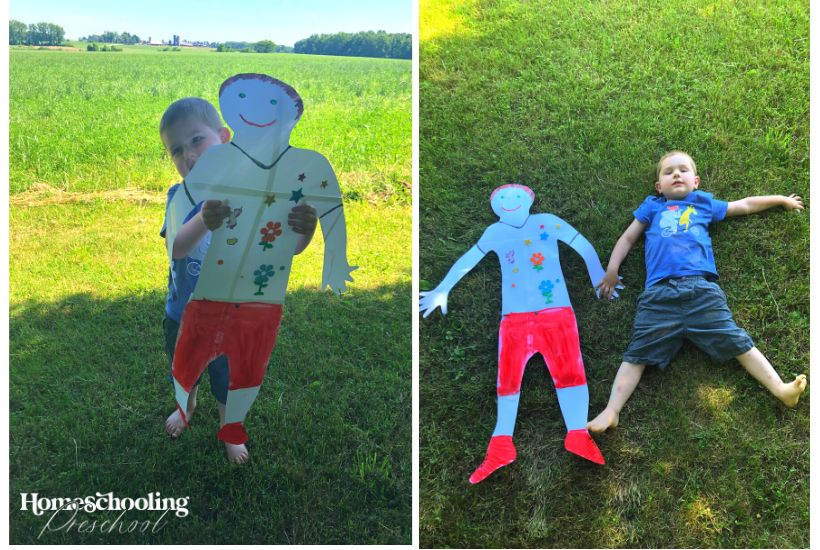
2 – Have your child carefully lay down on the paper.
Choose how you want his arms and legs to be.
If you are looking to conserve room, have him put his arms down by his side.
3 – Trace your child.
When it comes to his fingers, have him spread them wide so that it is easier to trace.
4 – Cut out the outline of your child.
This is an ADULT job due to how tricky it can be to maneuver the paper.

5 – Discuss with your child what color shirt and shorts/pants he wants to be wearing.
Also, ask if he wants to wear a short or long sleeve shirt.
Add the ends of the shirt on the arms so your child knows where the shirt ends.
You may want to add a U or V shape around the neck to make the shirt collar.
6 – Repeat with asking if your child wants to be wearing shorts or pants.
Add in the ends of the shorts/pants so your child knows where they end.
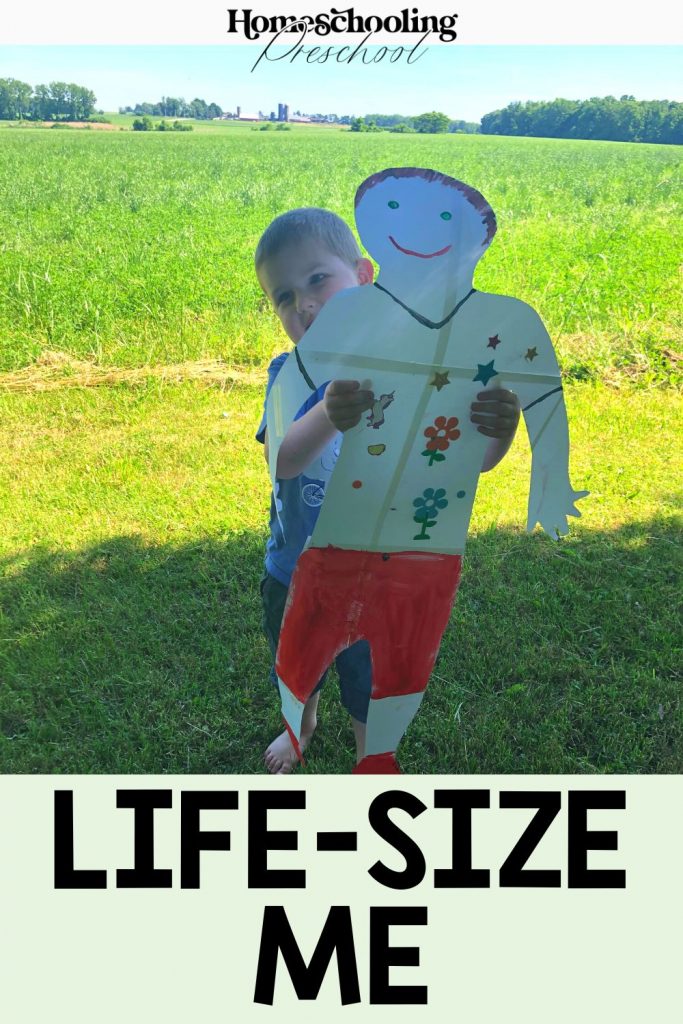
7 – Help your child add on a face to his Life Size Me.
8 – Allow your child to paint or decorate the clothing on his life size me.
If making it a color, painting is the easiest way to get it covered.
You may want to use a cotton ball to paint if you only have small paint brushes.
9 – Add on stickers or cut out items from a magazine to help your child decorate.
Preschool All About Me Craft
This all-about-me preschool craft is sure to be one your child will love!
Allow him to make it as silly as he wants, it’s all part of the creative process.