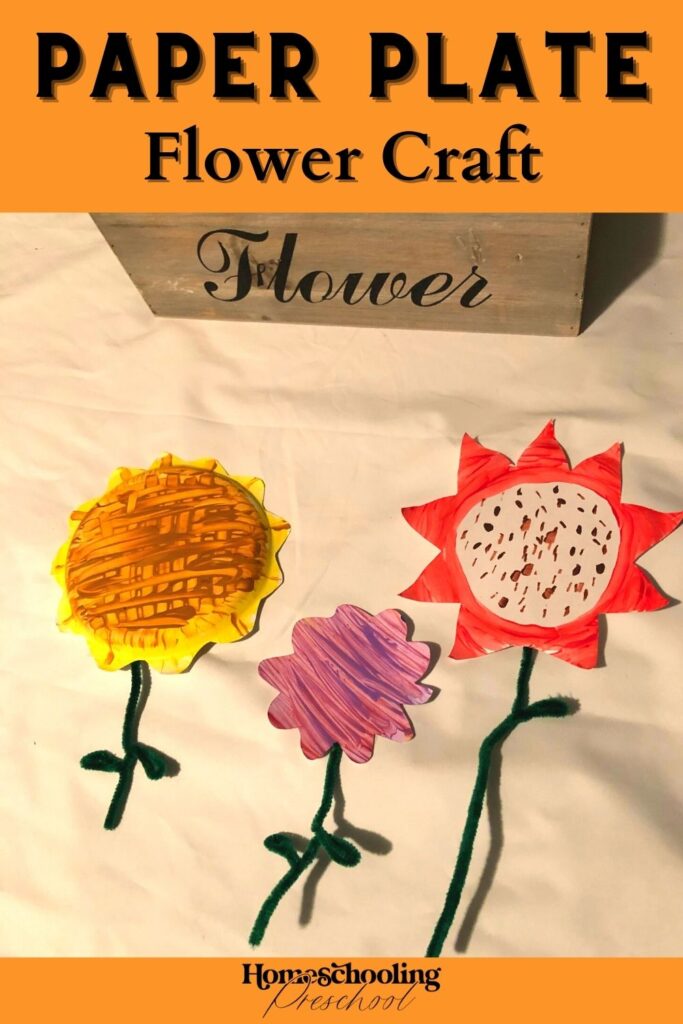
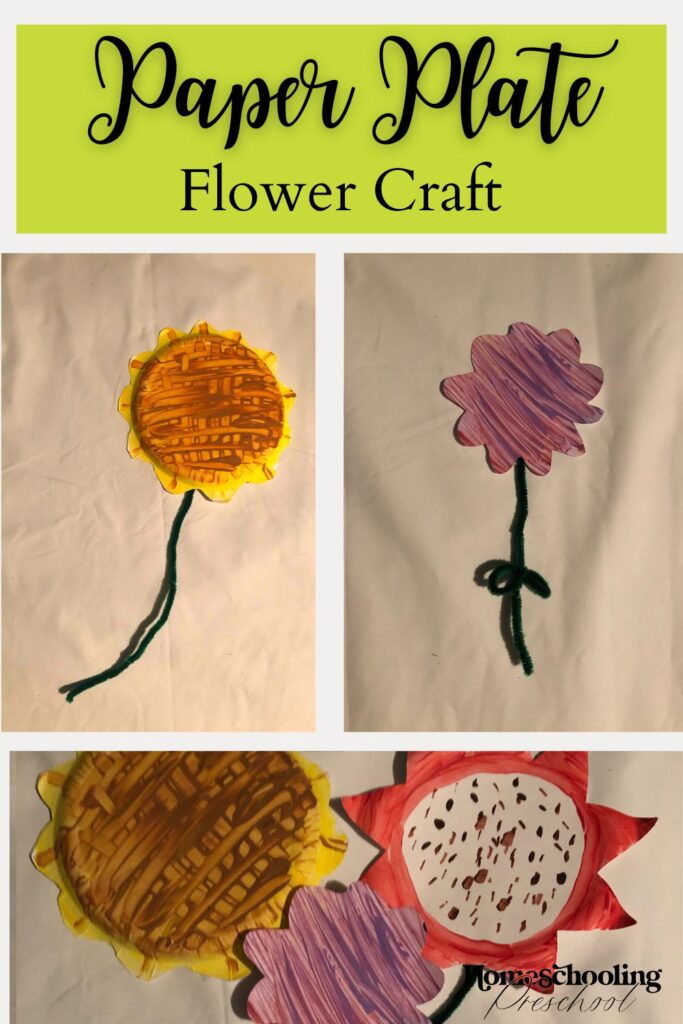
Paper Plate Flower Craft
Looking for a quick and easy craft?
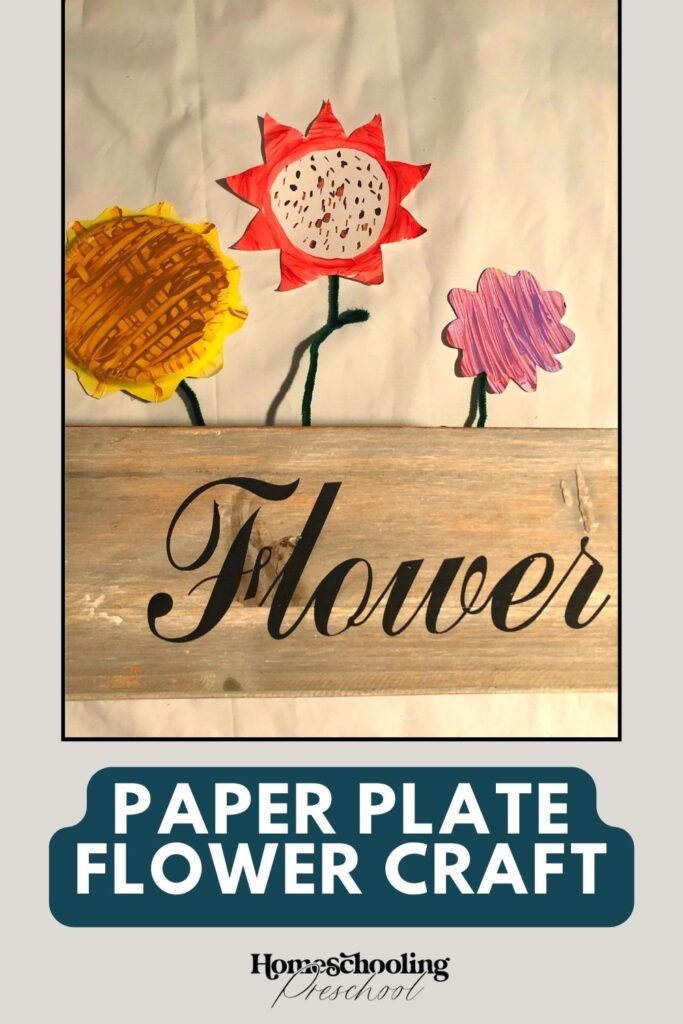
These paper plate craft flowers are fun to make and require minimal time, effort, and materials.

This article may contain affiliate links to products that may help you when homeschooling preschool.
Why Make A Paper Plate Craft
There are many different reasons to make flowers.
Mother’s Day, Valentine’s Day, because it is a Tuesday and it is raining out, the list goes on and on.
Because flowers are so versatile and no one will say no to receiving a flower from a kid, they make the perfect paper plate craft.
The items needed list is minimal, and you most likely already have the items on hand.
Your little one will see that there is more than one use for a paper plate and it make spark her interest in repurposing other items in your home.
Fine motor skills are strengthened with the coloring of the flower and the twisting of the stem.
Because this paper plate craft is so simple, you’ll be able to make many flowers to strengthen those fine motor muscles.
If you are working on finding items that are similar to your preschooler, you can have her make a handful of flowers that are all similar.
Ask her what she would need to do to make them all look similar.
She may say to color them the exact same, or she may decide to make them the same shape, or the same color palette.
Working on patterning?
Have your little learner make two or three different versions of the flower.
Once dry and the stem attached, have her make different patterns.
The stem can also be folded to make one flower shorter than the other to help make a new pattern.
Add more items to your dramatic play area with these paper plate flowers.
Poke a few holes in the bottom of a cardboard box.
Your little one can stick the chenille stems through the holes to plant the flowers.
Then, she can go and pick the flowers and arrange them into a bouquet, too.
Items Needed
- Paper Plates
- Scissors
- Paint, markers, or crayons
- Chenille stems
- Tape
How to Make a Paper Plate Flower
1- Choose what kind of flower you want to make.
It’s more about choosing the shape of the petals than the colors (for right now).
You can draw the flower on the paper plate to help know where to cut.
2- Cut curves into the outside rim of the paper plate to make the petals.
The more towards the center you cut, the longer your petals will be.
** The plate is a bit tricky to cut so you may want an adult to do the cutting **
3- Use the colors tools to color in your paper plate craft.
Solid-colored flowers can be ‘brought to life’ by adding dots of brown or black in the middle.
4- Tape a chenille stem on the back of the flower to make a stem.
If your little one wants a curly stem, have her wrap the chenille stem around her finger a few times before taping it on the flower head.
Make a small loop with the chenille stem to add leaves to the stem.
Twist the chenille stem around the base of the loop to help secure it.
Straighten the rest of the chenille stem to make the rest of the stem.
5- Put the paper plate craft flower into a vase, tape it on the top of a gift, or give it to someone you love.
Paper Plate Craft
Making a paper plate craft is a great way to bring fun to your day without having to worry about a craft that needs many different items.
Plus, once you are done making the paper plate flower, you can give it to someone, practice patterning, use it for dramatic play, or tape it to the top of a gift.