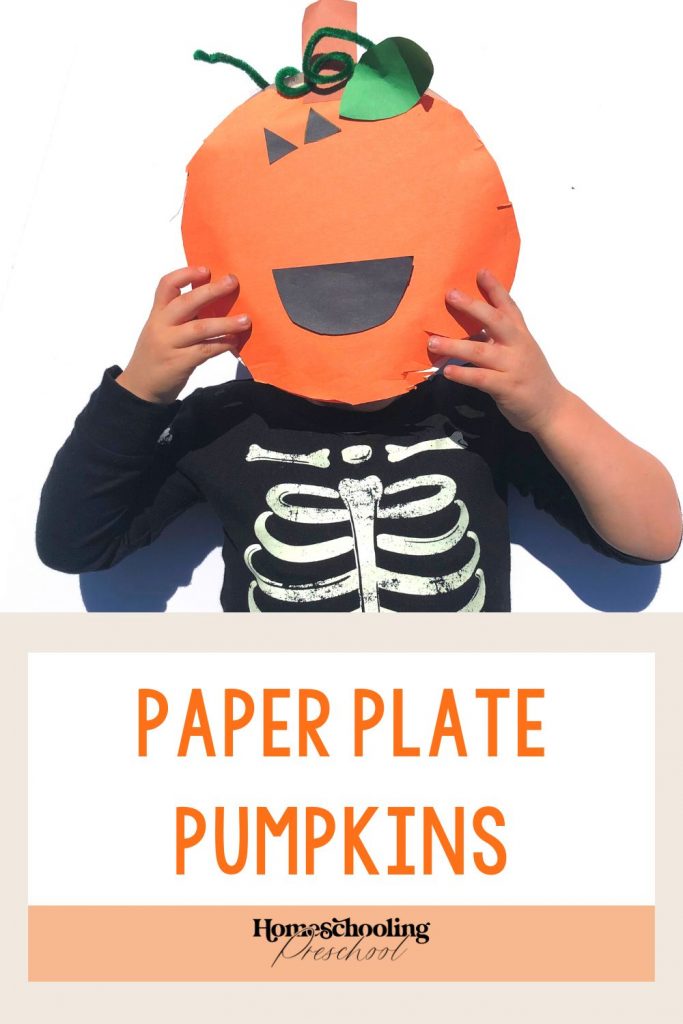
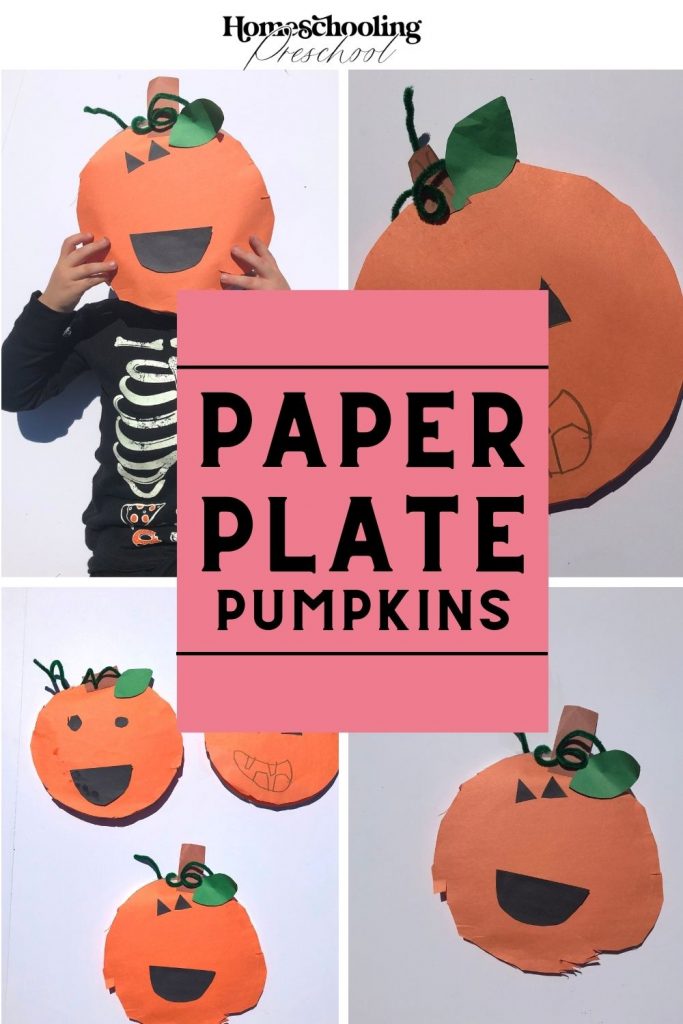
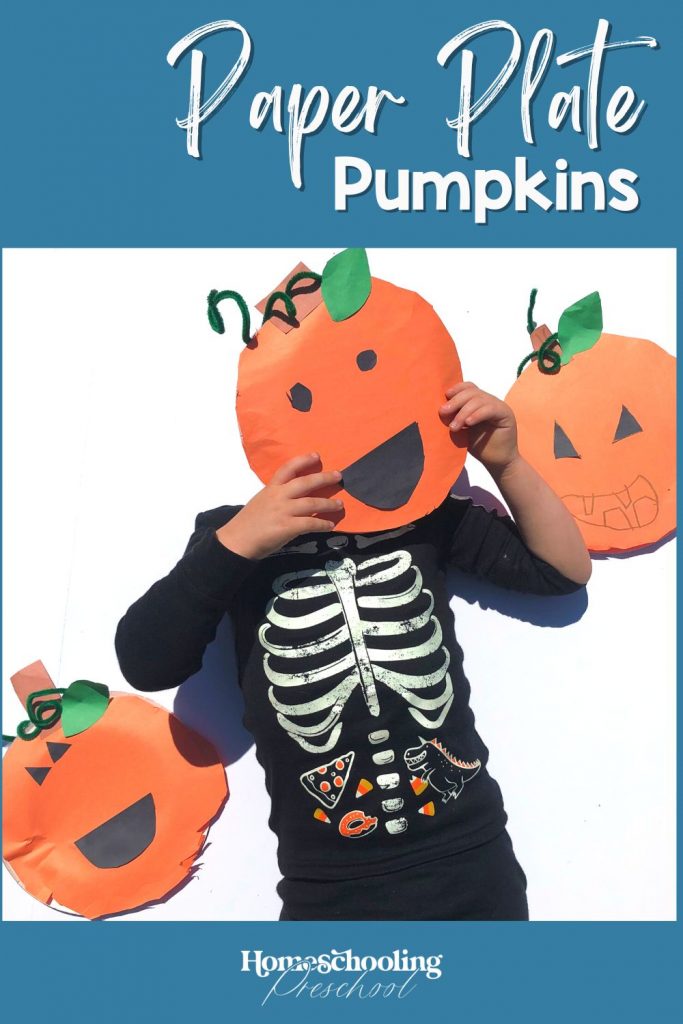
Paper Plate Pumpkins
Make a pumpkin patch at home with this adorable pumpkin craft.
Your little one will love making all sorts of different pumpkins.
This article may contain affiliate links to products that may help you when homeschooling preschool.
Why Make Pumpkin Crafts
Pumpkins are a sign that fall is finally here!
People love to decorate and enjoy pumpkins all autumn.
Let your little ones join in on the fall decorating with this adorable and easy pumpkin craft.
To find more activities that have to do with pumpkins, check out our Homeschooling Preschool Curriculum.
This pumpkin craft is part of Week 8 which is all about pumpkins!
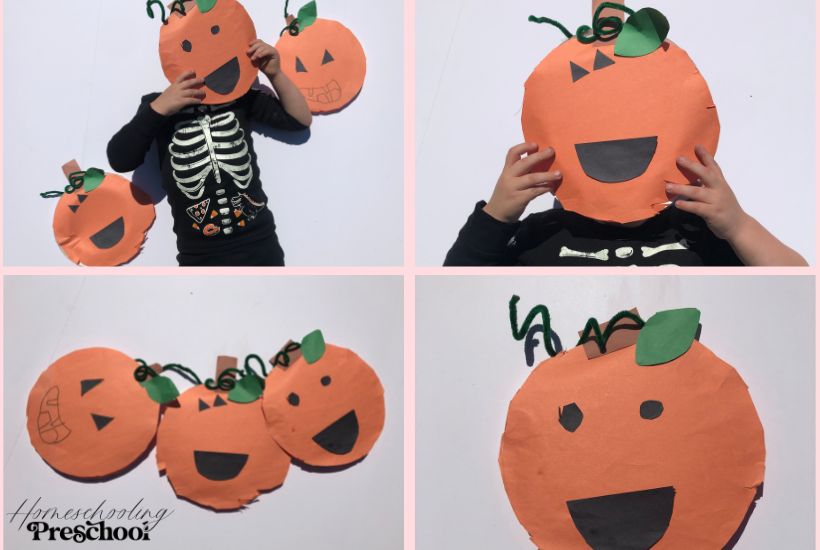
There are so many possibilities of how the pumpkins can turn out.
Let your preschooler decide what shape of eyes, nose (if included), and mouth he wants to make the pumpkin his own.
This is a great way to sneak in some shape recognition practice.
Why stop at just one?
Let your little one experiment with how the pumpkin will look different if the eyes are a different shape or if they are spaced out differently.
By allowing him to experiment, you are allowing him to work with spatial reasoning and decision-making.
Save all of the pumpkins your little one creates and turn them into a pumpkin patch!
You can also add the pumpkin and the pieces to your morning basket as an option for something for your little one to do during this time.
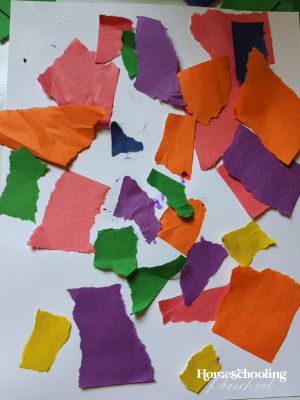
Fine motor skills are being used while cutting, picking up, and placing items, as well as gluing down the pieces.
All of these actions require your little one to use and strengthen the fine motor muscles in his hands.
These little muscles are essential for things that help him to be more independent, like zipping his zipper, fastening his shoes, pulling on his pants, and opening up his fruit snacks.
These same muscles will also be used when he writes. With enough practice, he will be able to open up his snack without your help (hopefully, sooner rather than later…).
Items Needed
- paper plate
- construction paper (orange, brown, green)
- green chenille stem (optional; for the vine)
- glue
- tape (if using chenille stem)
How to Make a Paper Plate Pumpkin
1 – Trace your paper plate on an orange sheet of paper.
If possible, let your preschooler cut out the circle for the pumpkin craft.
Remind him to keep his scissors “on the train track” as he cuts.
The circle does not have to be perfectly round. Every pumpkin is unique.
2 – Ask your preschooler what shape eyes he wants his pumpkin to have.
Ask how many eyes the pumpkin will need.
Draw the eye shape on black paper and cut out the eyes.
3 – Repeat step 3 for the nose (if desired) and mouth.
4 – Cut out a rectangle from the brown paper for a stem.
5 – Cut out a leaf from green paper.
6 – To make the vine curly, have your preschooler wrap the chenille stem around his finger.
Have him slowly pull out his finger.
7 – Place the pieces in the desired spots on the pumpkin.
Glue down all of the pieces.
Glue the orange pumpkin on the back of a paper plate to make it more sturdy.
If adding the vine you may need to tape it to the pumpkin.
8 – Hang up the pumpkin in a place that you will be able to add to the pumpkin patch, if desired.
Pumpkin Craft
Like each child, every pumpkin is unique.
Let your little one show his individuality and creativity with this adorable pumpkin craft.