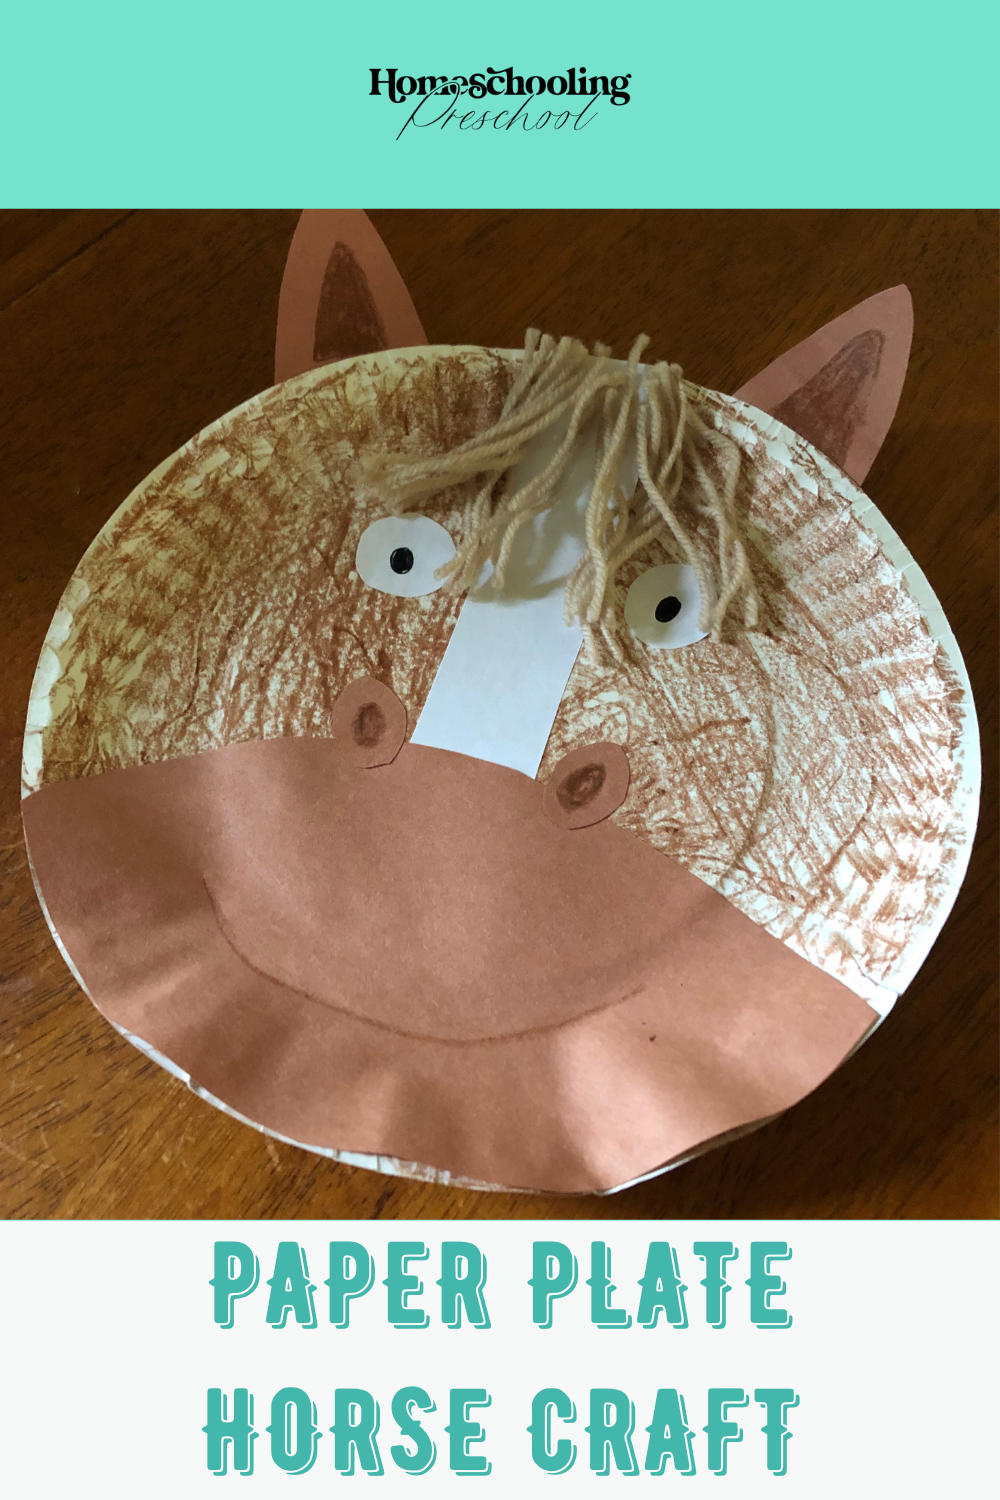
Paper Plate Horse Craft
Yee-haw! Set your sights on a simple and fun paper plate horse craft that only uses a few household items.

Why Make a Paper Plate Horse Craft
Sometimes, you want a craft that doesn’t call for all of the glitter, beads, or stamps (although we do love all of those around here).
This paper plate horse craft calls for only a few items and can be adjusted to fit your needs.
Sure, it’s written to use yarn, but cut out hair from your construction paper if you don’t have it readily available.
The paper plate horse craft will still turn out cute.
Your little one has creative freedom with this paper plate horse craft.

This article may contain affiliate links to products that may help you when homeschooling preschool.
She can use traditional horse colors, make it blue like the horse from Brown Bear, Brown Bear What Do You See, or even turn it into a rainbow unicorn by adding a horn.
The grown-up can cut out all the craft pieces or draw the shapes on the construction paper and let the preschooler cut out the items.
You choose what works best for your little one and what skills you are trying to work on with this craft.
We have other posts that feature paper plate crafts, so be sure to check them out to discover other ways to use up all those paper plates in the pack.
Of course, use a few to serve dinner, so it’s an easy clean-up night, too! 😉
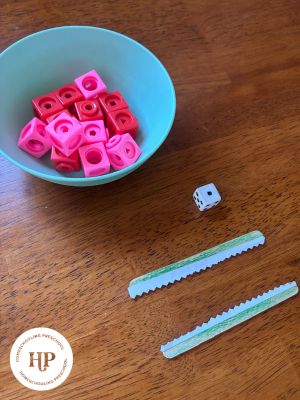
Items Needed
- paper plate
- construction paper
- color tools (crayons, markers, etc.)
- glue
- scissors
- yarn
- pencil
- tape

Paper Plate Horse Craft How To
1. Choose what color horse you want to make. It’s up to you if you want to keep it traditional (brown, black, white, blonde) or if you want to do a unique colored horse (like blue).
2. Color the paper plate the color of your choosing. Remember that most of the bottom will be covered (to make the snout), so it doesn’t have to be covered entirely in color.
3. Trace the bottom curve of the snout onto the colored construction paper by tracing the curve of the plate onto the paper.
If you pretend the paper plate is a clock, the curve you are tracing should be from the 4 to the 8.
4. Remove the plate from the paper and connect the two ends with an arch so it looks like an almond.
5. Match up the construction paper snout on the paper plate and ensure that the coloring goes down to the snout.
If not, continue to color until the whole plate looks colored when the snout is placed on top.
6. Glue the snout onto the paper, lining up the bottom of the plate with the bottom of the snout.

7. Cut out two ovals from the colored construction paper to be the nostrils. Add a circle in the middle of each oval to give the nostrils dimension.
8. Glue the nostrils onto the top of the snout.
9. Add a white stripe down the middle of the face by cutting out a white strip of paper and gluing it in place.

10. Create ears by cutting triangles out of the colored construction paper (or white paper and coloring it the same color as the horse).
11. Attach the ears by putting glue on the FRONT of the ear so it will stick to the back of the plate.
12. Make eyes by cutting out circles and coloring on pupils with a black marker.

13. Glue the eyes onto the paper plate horse craft.
14. Add a mane by wrapping yarn around your fingers a few times. Slip the yarn off your hand and cut the yarn at each end (the folded parts).
15. Tape the yarn onto the forehead of the paper plate horse craft.
16. If desired, add a smile to the snout!
17. Enjoy the paper plate horse craft!

Horse Craft
When creating these paper plate horse crafts, let your imagination run wild (like the horses).
Want to make a rainbow horse? Go for it!
Looking to turn it into a unicorn? We can’t wait to see it!