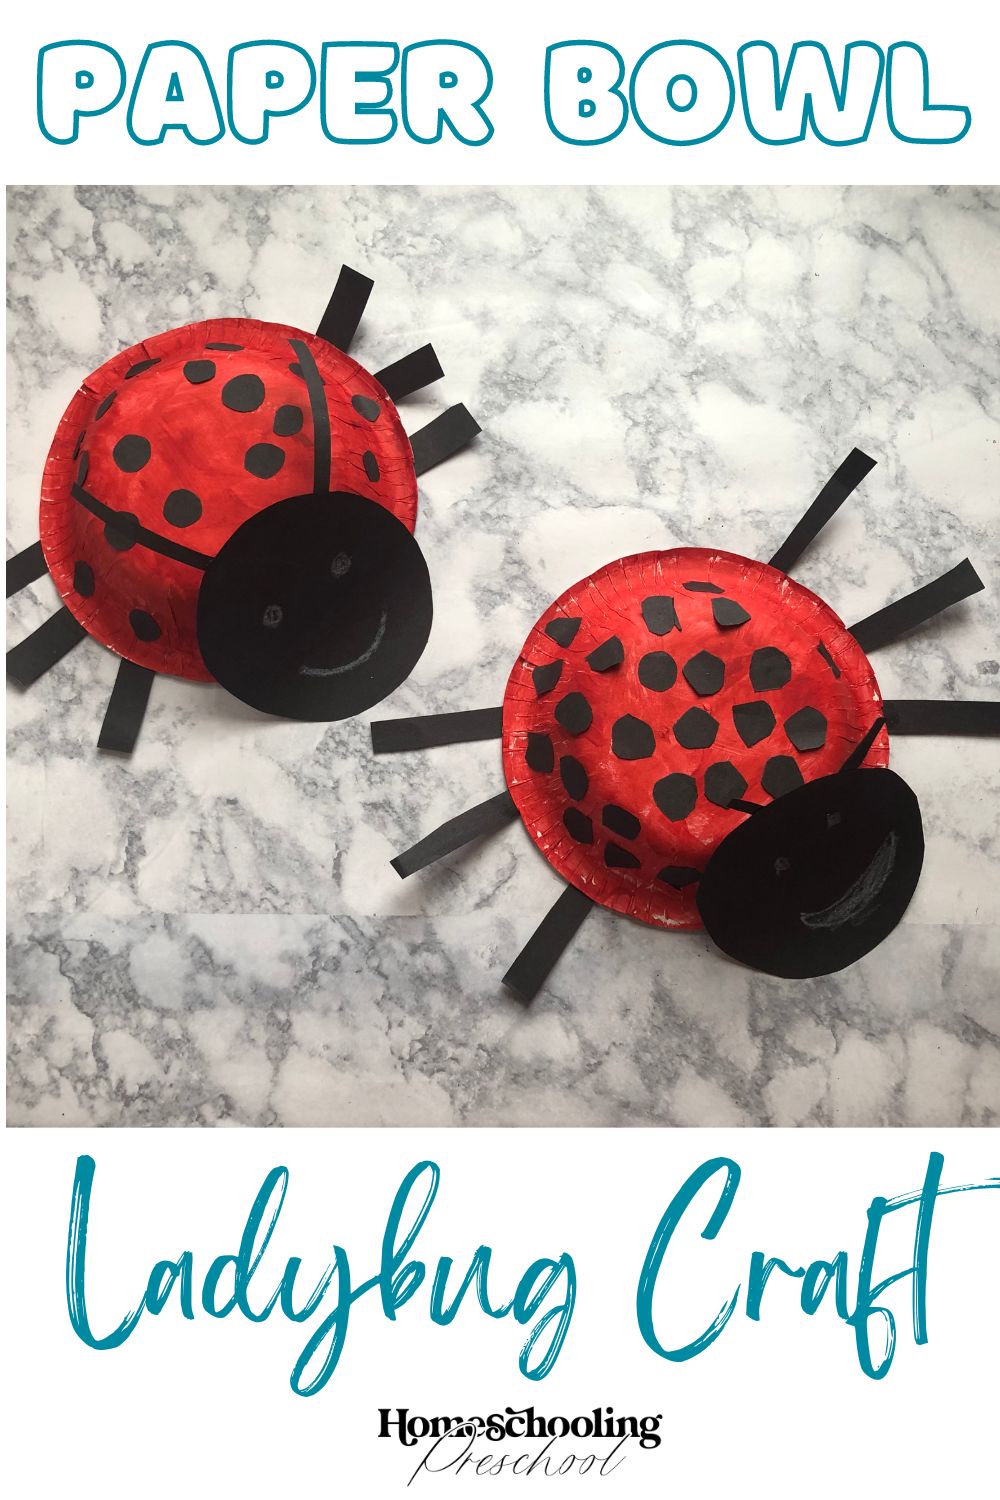
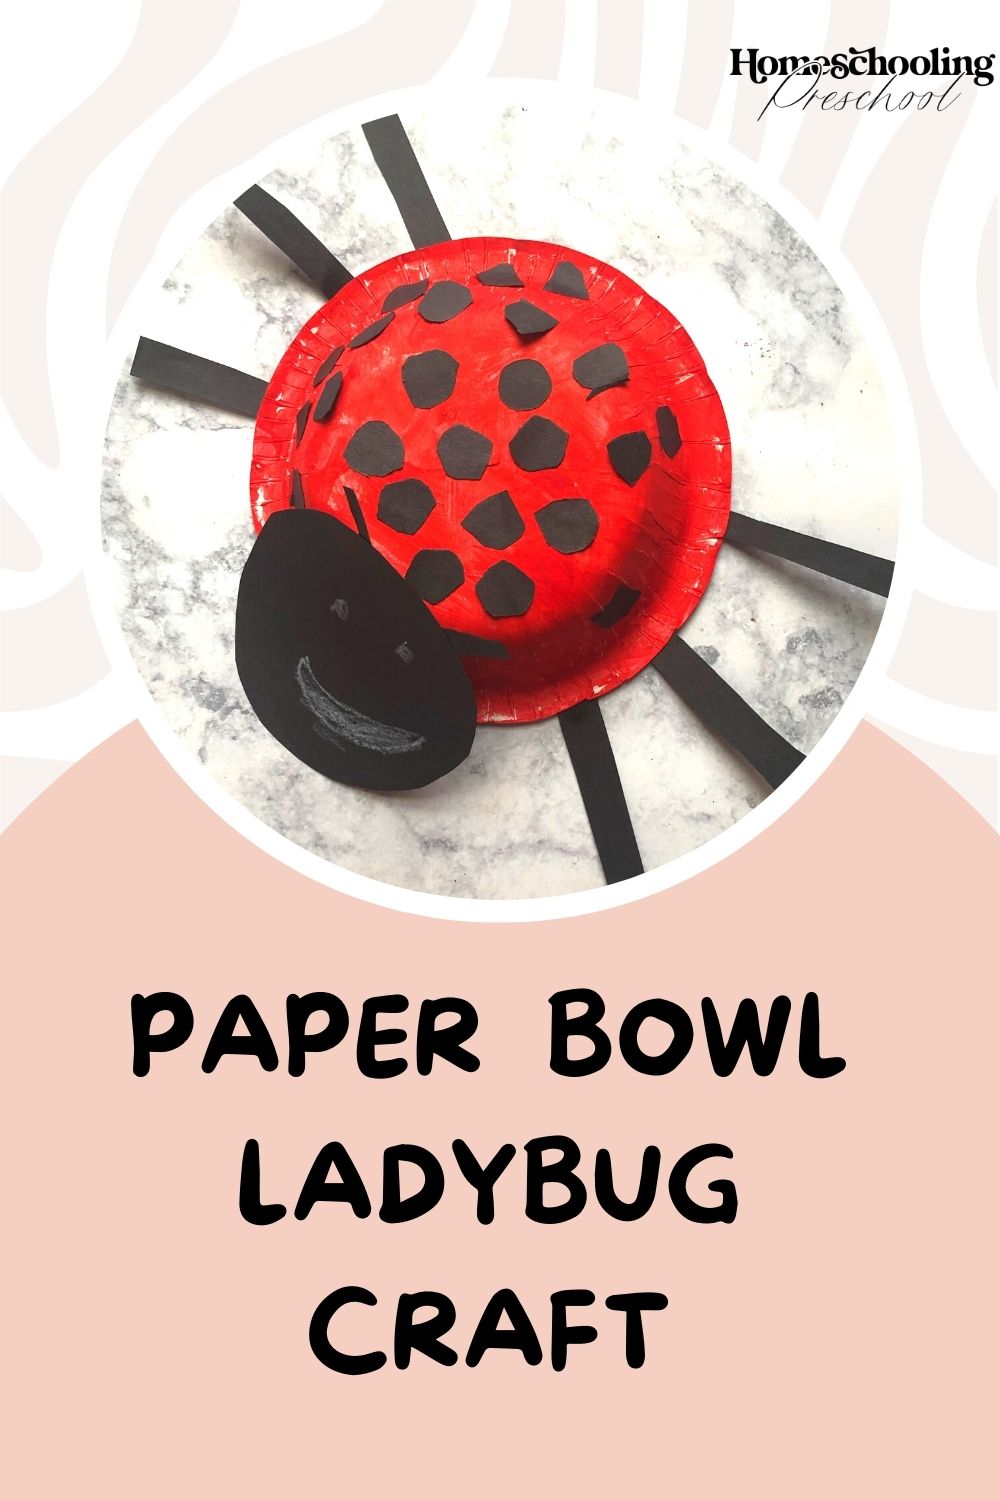
Paper Bowl Ladybug Craft
A disposable paper bowl is a perfect body for a ladybug when painted red. With a bit of construction paper, this ladybug craft comes to life!

This article may contain affiliate links to products that may help you when homeschooling preschool.
Why Make a Paper Bowl Ladybug Craft
Whether you are doing this ladybug craft after reading Eric Carle’s The Grouchy Ladybug or talking about insects and need a simple craft, this paper bowl ladybug craft will not disappoint.
By only having one paint color, the painting part of this craft can be completed quickly.
There’s no deciding the perfect color or where to place said hue. 😉
While the paint is drying, other parts of the craft can be worked on (like making the adorable face or cutting out the other items).
Or the ladybug craft can be split up into two sessions: one for painting and one for gluing.

You can tailor this craft to fit your little one’s needs.
If she is ready to cut, let her work on cutting out the legs, antennae, and spot.
If you would rather have everything prepared for ease of the crafts, that is possible, too.
Either way, the ladybug craft will be fun to make and look adorable.
Plus, you’re little one will get to use her creativity and will be able to put her fine motor skills to work.
Oh– and the best part? This ladybug craft sneaks in shape practice, too.
The spots are circles, and the legs and antennae are rectangles. Having two shapes to focus on helps the littlest learners focus on two shapes to aid with mastering these two shapes.
Materials Needed for the Ladybug Craft
- paper bowl
- red paint
- black construction paper
- glue
- googly eyes (optional)
- white crayon or colored pencil

Paper Bowl Ladybug Craft Instructions
1. Turn the bowl over so the open part touches the table (and you can’t see inside the bowl).
2. Paint the outside of the bowl with red paint.
3. Cut out a large black circle from black construction paper to make a ladybug head.
4. Add googly eyes (if using) and a smile using a white crayon or pencil.
5. Make some smaller black circles out of the black paper to use on the red back of the ladybug’s body.

6. Cut small rectangles for the ladybug’s legs (you will need six total) and two longer thin rectangles for the antennae.
7. Glue the small spots on the ladybug’s back. Attach the legs to both sides of the red bowl. Either under the outside lip or on top of the outside lip, both work and look adorable.
8. It may be easier to attach the head of the ladybug to the body using a piece (or two) of tape to the front of the ladybug craft. Roll the tape into a loop with the sticky side out and place it on the outside of the bowl. Push the ladybug’s head on the table.
9. Glue the antennae to the ladybug’s head.
Insect Craft
Grab a pack of paper bowls the next time you are at the store to make this cute ladybug craft.
You can use the rest of the bowls to save you from having to do dishes. That’s a win-win situation!