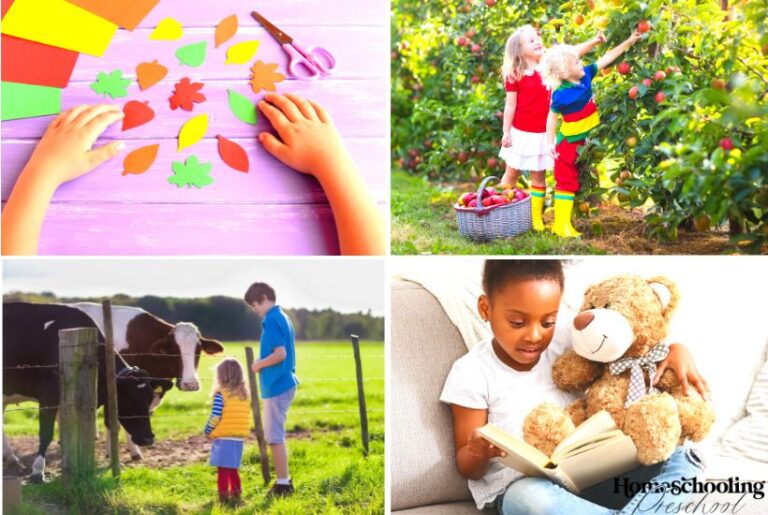
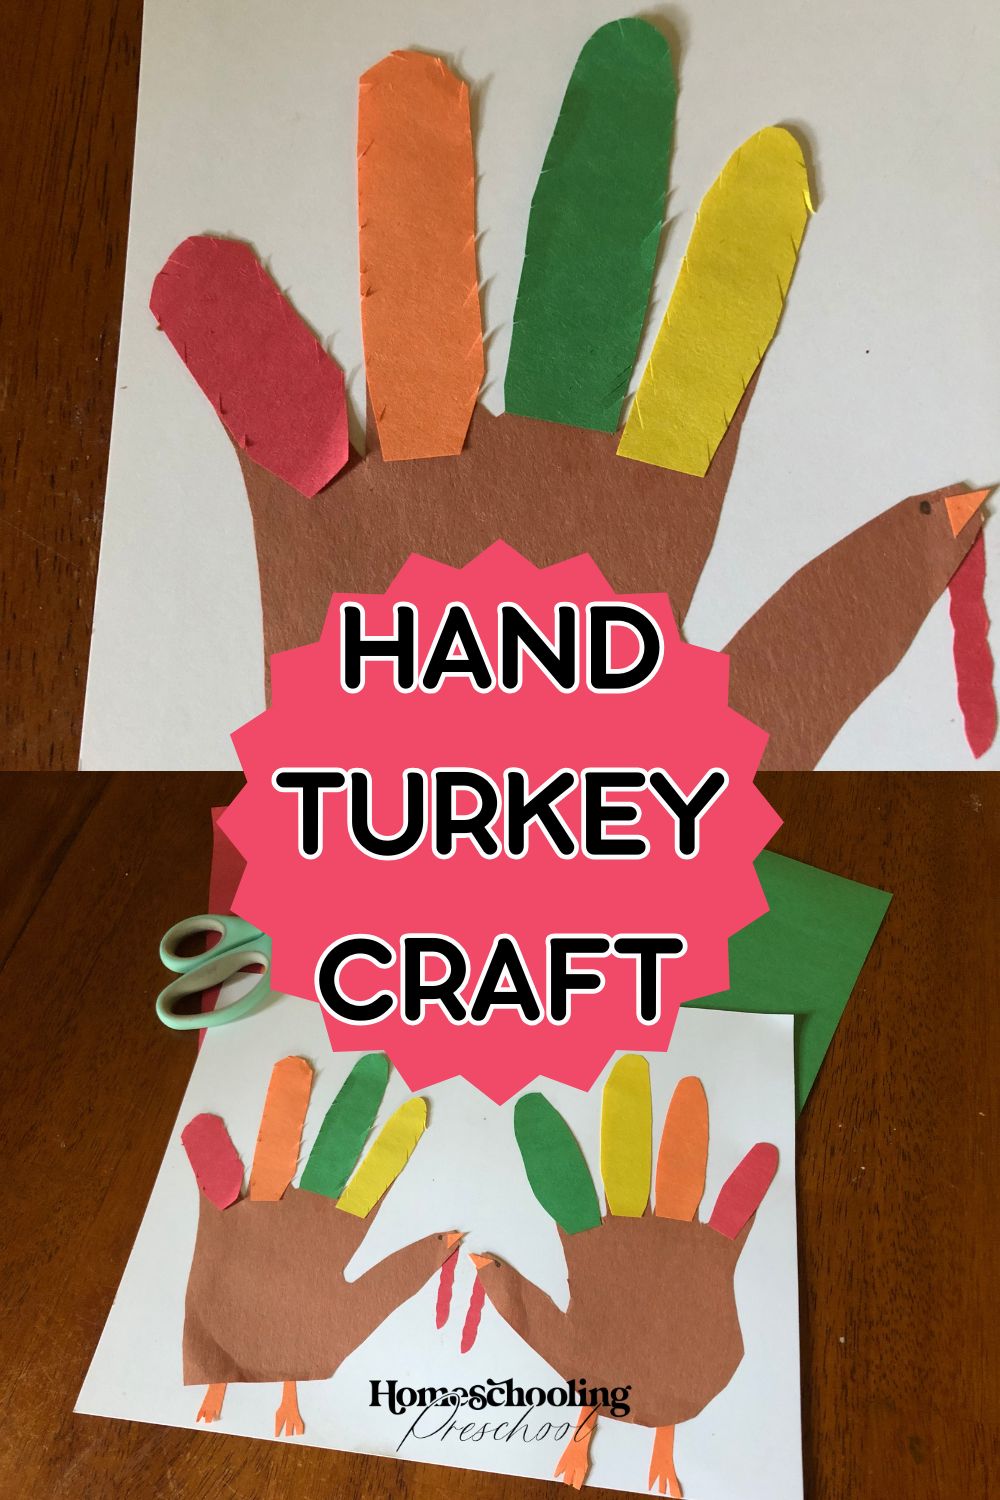
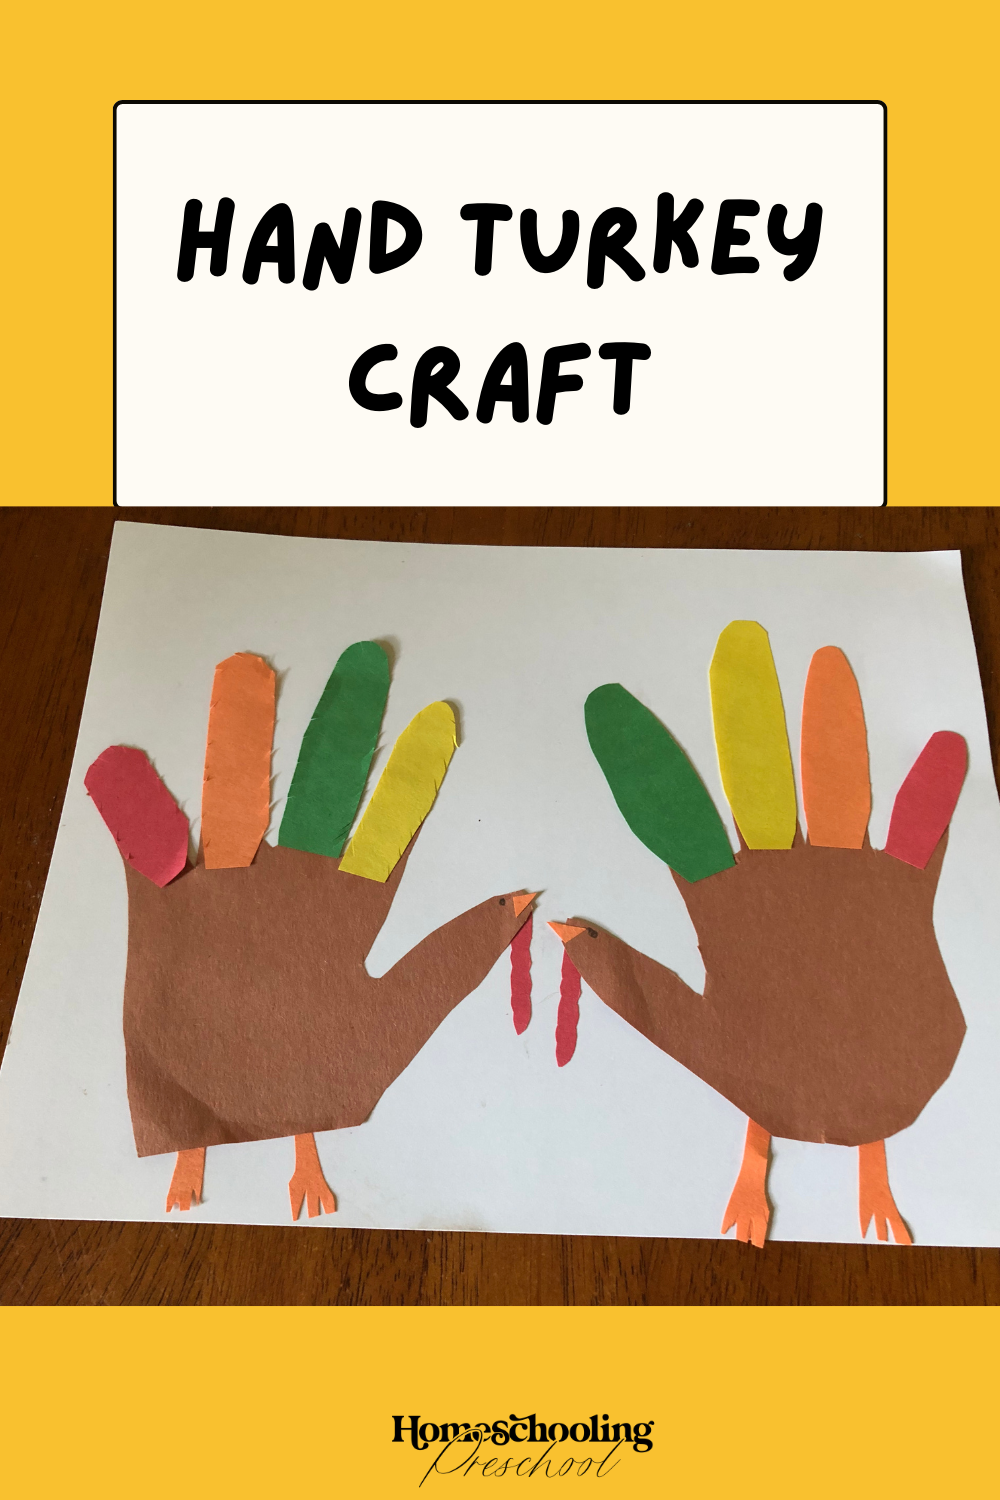
Hand Turkey Craft
Hand turkey crafts are one of the most memorable handprint crafts there are. The sweet little fingers provide the perfect shape for a turkey.

Benefits of Making a Hand Turkey Craft
When it comes to decorating for Thanksgiving, the sight of hand turkey crafts always seems to come to mind.
It’s one of the crafts kids love making despite it being so straightforward.
The variation of painted hand turkey crafts, construction paper hand turkeys (like these!), and colored hand turkeys makes them all that more enjoyable.
If your little one can’t stand the thought of painting their hands or hates coloring, these construction paper hand turkey crafts may be just what you need!
Fear not! You only need to trace the preschooler’s hand ONCE.
No more struggling to paint the tickled fingers or trying to get your little one to color in the lines.
This article may contain affiliate links to products that may help you when homeschooling preschool.
Turn It Into an Activity!
You can even use these cute hand turkeys as an activity!
Follow the instructions, but don’t glue down the feathers.
Patterns
The preschooler can make color patterns by placing the feathers on the turkeys.
You can make pattern cards on index cards using markers (add colored dots to the index card in the pattern) for him to copy on the turkey using the feathers.
Words or Name Practice
Another activity is to add letters to the feathers to make different words or to spell names.
Items You Need
- construction paper (brown, green, red, yellow, orange)
- blank white paper (optional)
- pencil
- scissors
- glue
How to Make a Hand Turkey
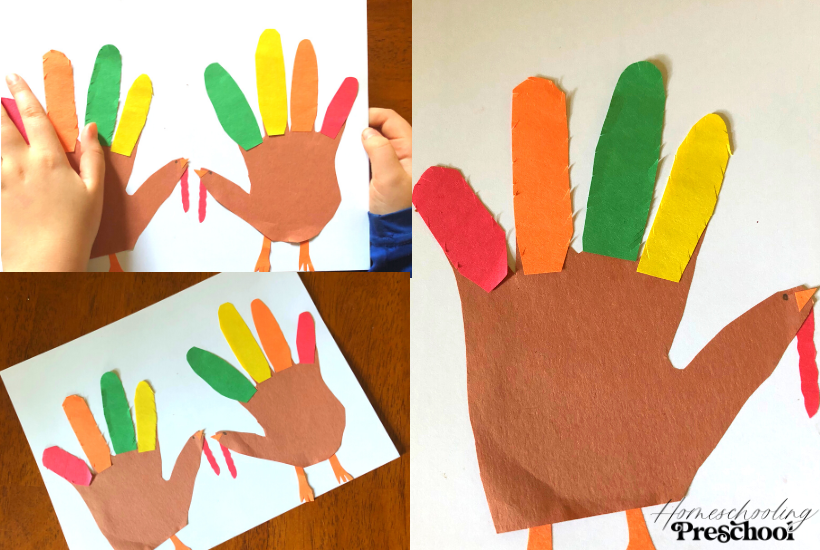
1. Trace and cut out your preschooler’s handprint on the brown paper. Once one hand is traced and cut out, you can use it as a template to trace around to make another turkey (if you want to make multiple turkeys).
2. Use the other colors of construction paper to cut out rectangles that roughly match the length and width of your little one’s fingers (not the thumb).
It doesn’t have to be exact! You may even find it easier to make them bigger than the fingers.
3. Now that you have skinny rectangles, curve one of the ends by cutting an arch across the top to make the feathers.

4. To add texture to the features, cut small cuts along the edges of the feathers.
5. Have your preschooler add the feathers to each of the fingers on the hand turkey and glue them down (not on the thumb, though).
He can make a pattern with the feathers, choose a different color for each finger, or make them all the same color.

6. Cut out a small triangle from the orange to make the beak. Glue it on.
7. Create the wattle (red dangle thing) by making a wiggly cut. Curve it on the bottom and make another wiggly cut on the other side. The top can be straight across because it will go behind the turkey’s head.
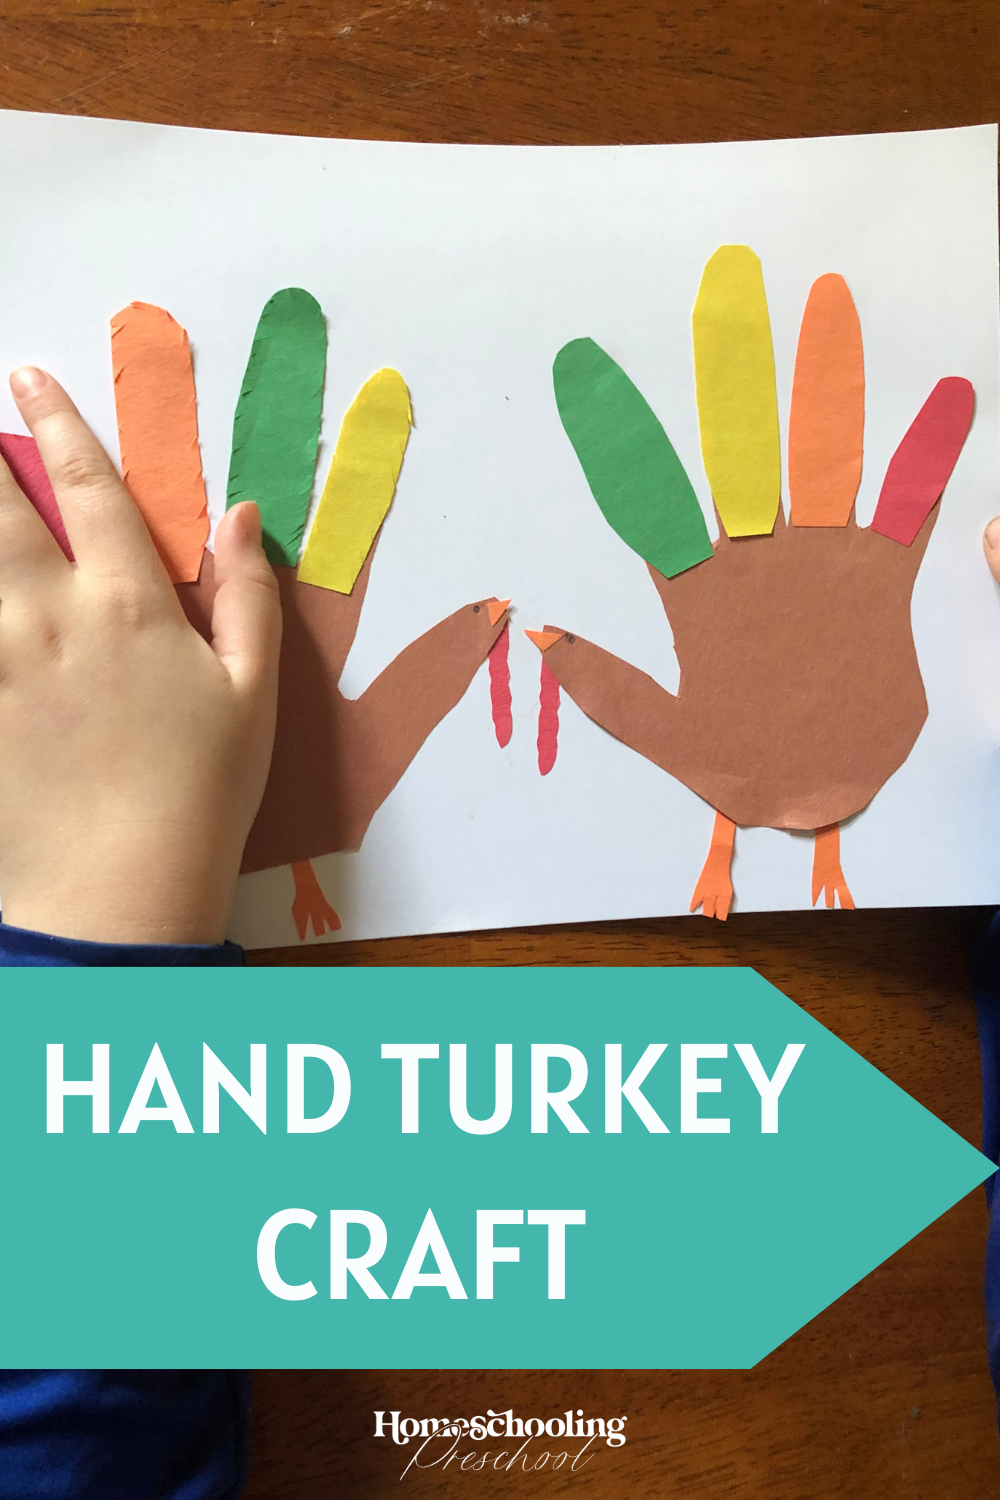
8. Glue the wattle behind the turkey’s head.
9. Cut out and glue on feet and legs from orange paper.
10. Add an eye using a black marker or a pencil.
11. Attach the hand turkey to white paper, if desired.

Turkey Handprint Craft
Decorating for Thanksgiving has never been more fun.
Let your little ones make these hand turkeys, and you’ll have a great memory making them, a decoration for Thanksgiving, and a wonderful keepsake of how small their hands once were.