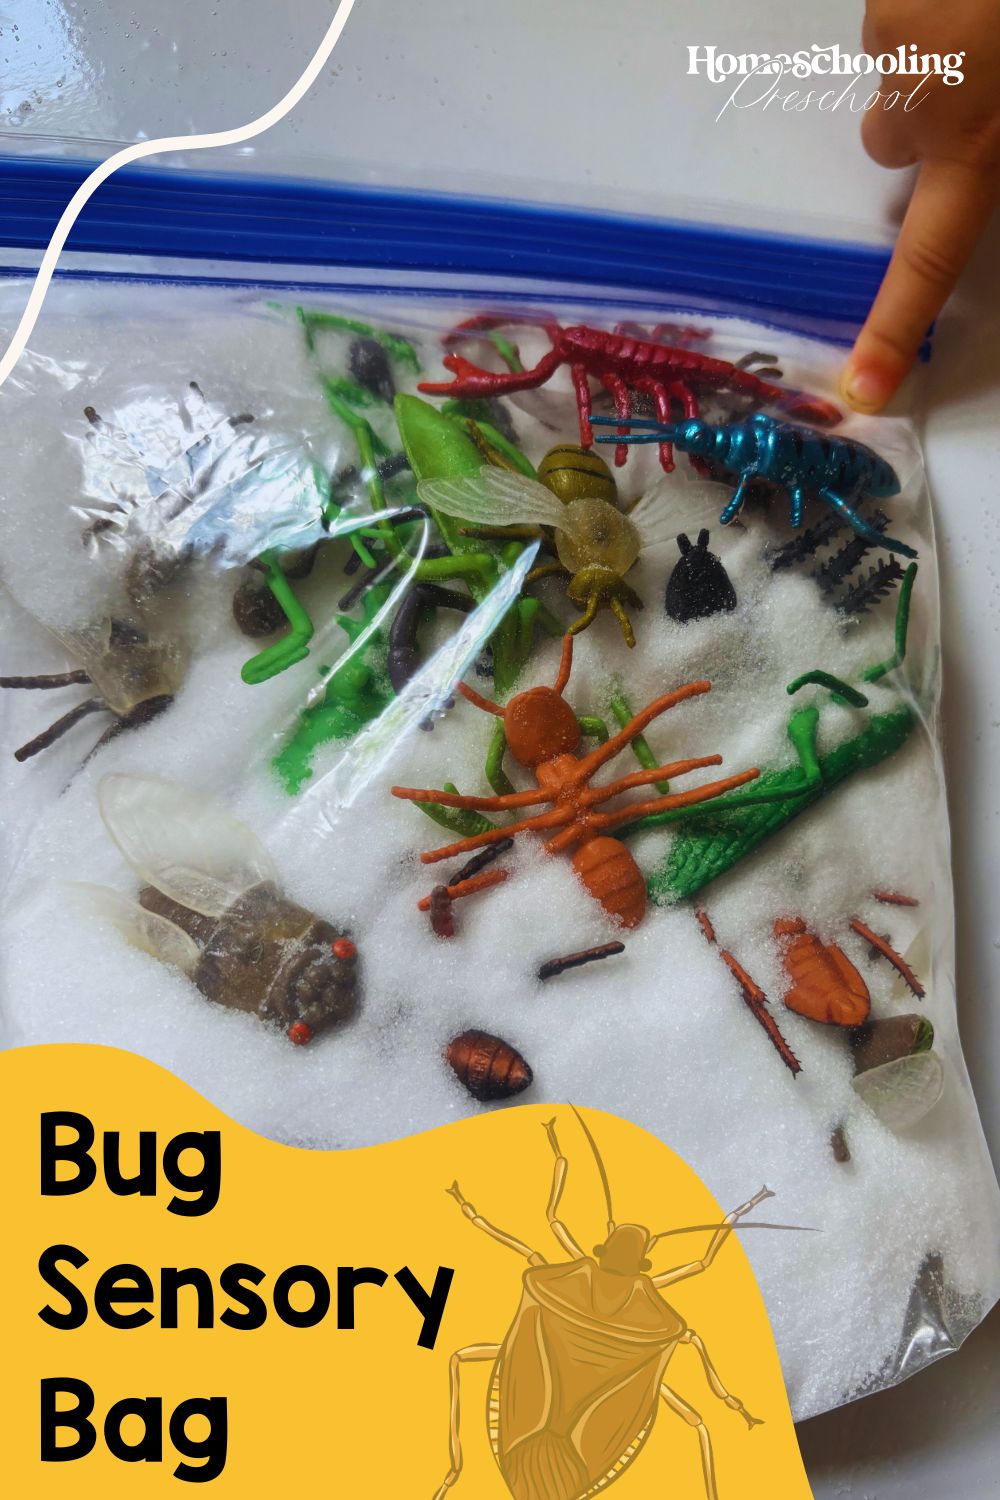
Bug Sensory Bag
Bug sensory bags make the perfect quiet activity. Let your little one search and find the hidden creepy crawlies.
Benefits of Sensory Bags
Sensory Exploration
Both visual and tactile exploration can happen with sensory bags. Depending on the filler you choose, smell may also come into play. 😉
Fine Motor Development
Playing and manipulating the small plastic bugs in the sensory bag filler will help build strong hand muscles.
These hand muscles can then be used to hold pencils, zip up zippers, hold a fork, and even tie shoes!
Imaginative Play
Preschoolers can create a story about the bug in the bug sensory bags. Maybe the fly is trying to get away from the grasshopper, or the butterfly is fluttering around with a dragonfly. The possibilities are endless.
This article may contain affiliate links to products that may help you when homeschooling preschool.
Calming
Sensory play tends to calm kids. The focus and use of different senses help kids focus on these things instead of whatever is bothering (or overstimulating) them.
Insect Exploration
These bug sensory bags allow little ones to get up close and personal with bugs safely. Both the preschoolers and the bugs are better off when little ones use these sensory bags. Neither the bugs nor the humans are being hurt.
Plus, you can expose your little one to a more diverse array of insects when using plastic bugs.
Matching (optional, but fun)
Take a bug sensory bag a step further by taking a picture of all the plastic bugs arranged flat on a table before putting them in the bag. Print out the picture and store it with the bug sensory bag.
While your little one is using the bug sensory bag, have them match the bugs they find in the bag to the bugs in the picture. If you laminate (or put in a dry-erase sleeve) the picture, your little one can mark off the bugs they find with a dry-erase marker.
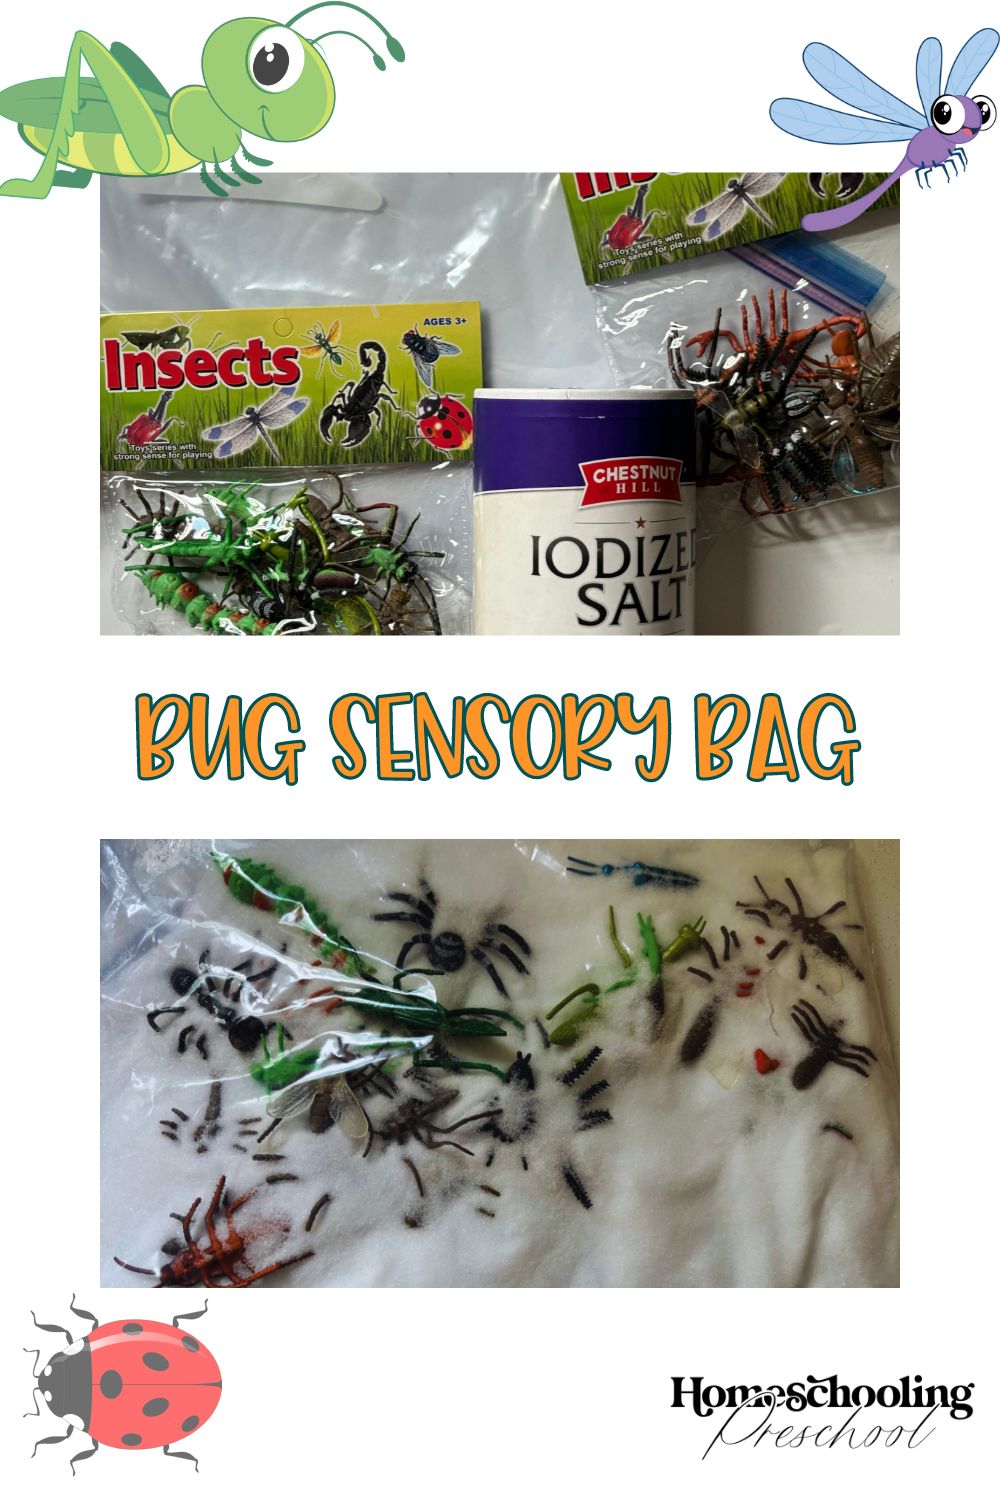
Items Needed to Make a Bug Sensory Bag
*pint-size or gallon-size baggie
*plastic bugs
*filler for the sensory bag (rice, beans, slime, salt, hair gel, shaving cream, etc.)
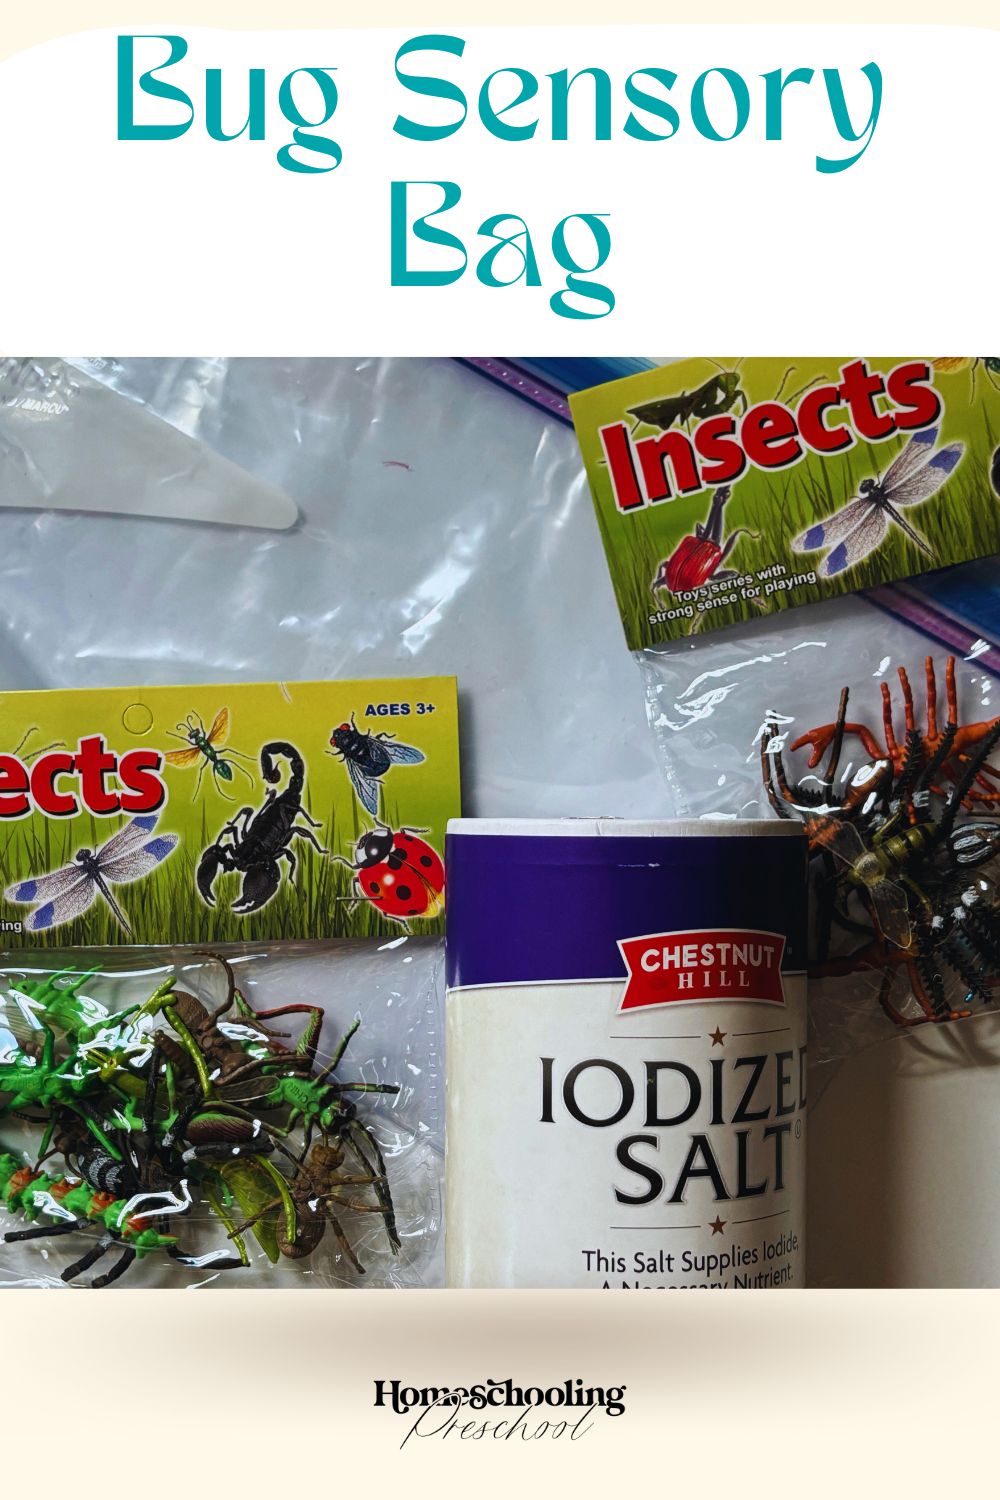
How to Make a Bug Sensory Bag
1. Gather your supplies, making sure the plastic bugs are out of the box they came in so you aren’t trying to open the box with a bag full of salt in your hands. 😬
2. Open the baggie wide. Have your preschool assistant pour in some of the filler for the bug sensory bag.
3. Add some plastic bugs once about half of your filler is in the bag.
4. Have your preschooler pour in the rest of the filler.
5. Add any last plastic bugs.
6. Get as much air out of the bag as possible and seal it.
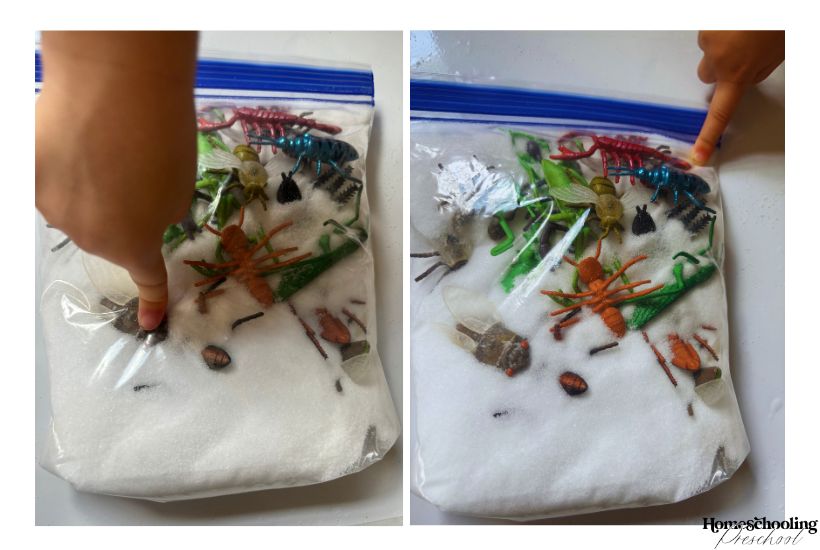
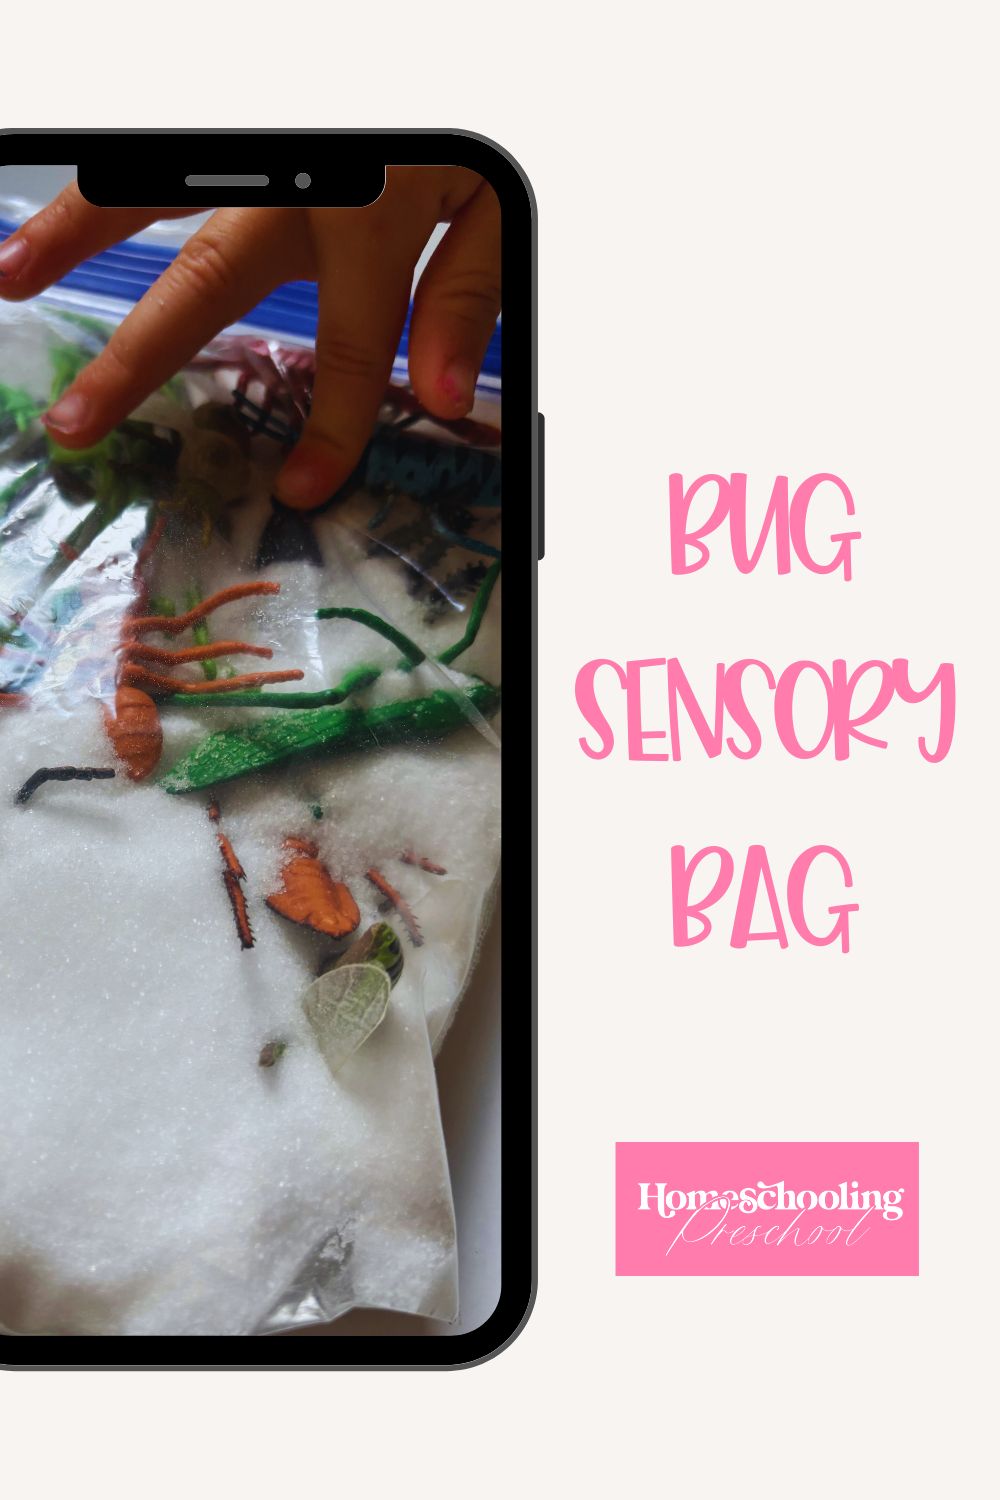
7. Try using the bug sensory bag by moving the items inside until you see some bugs.
8. Decide if you like the bug-to-filler ratio. If it’s too hard to find some bugs, you may have too much filler. You may have too many bugs in one bag if you constantly find bugs. Adjust accordingly.
Insect Sensory Bag
Making bug sensory bags is only the beginning. The fun continues as little ones search for hidden insects in the bags.