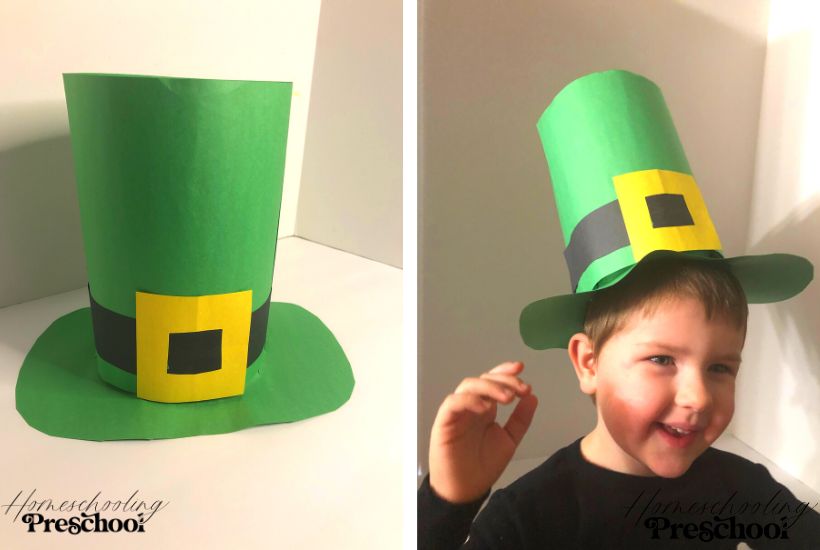
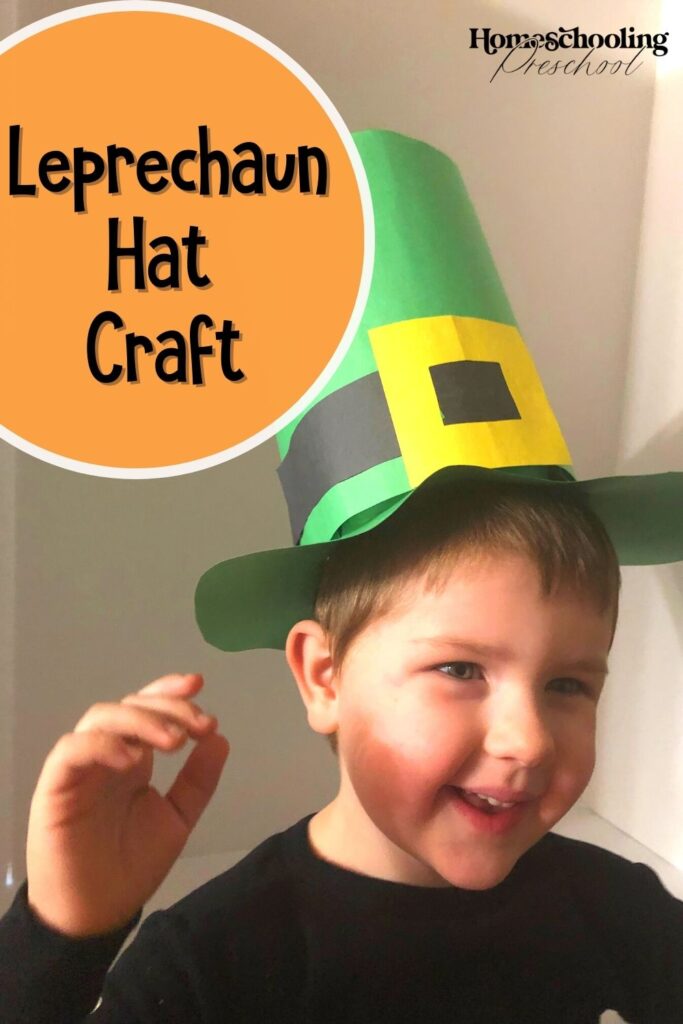
Leprechaun Hat Craft
Liven up St. Patty’s Day by having your little one pretend to be a leprechaun.
This leprechaun hat craft uses items you may have already.
This article may contain affiliate links to products that may help you when homeschooling preschool.
Why Make a Leprechaun Hat Craft
There are so many skills that can be worked on while making a craft.
This leprechaun hat craft brings in color recognition when choosing the construction paper, scissors skills when cutting the black strips, square and brim, shape identification, and the beginning of 3-dimensional shapes (when making the cylinder).
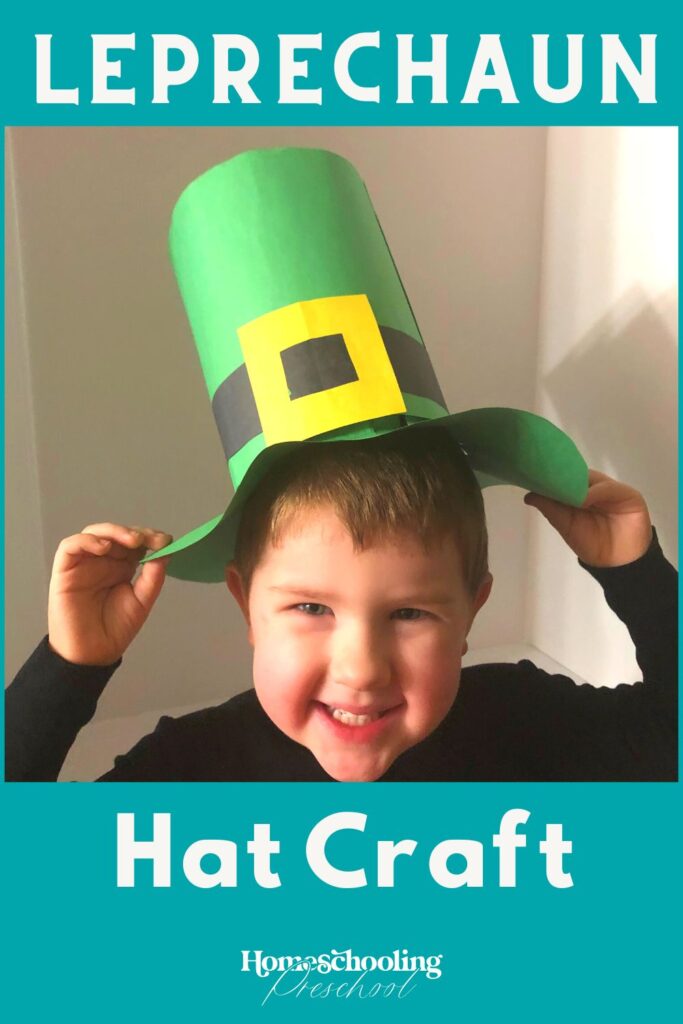
After making the leprechaun hat craft, your little one will be able to use it in dramatic play.
Encourage your little one to make a rainbow to use while playing leprechaun.
While the leprechaun hat craft may look like it has many steps, it isn’t too bad once you get started.
Materials Needed
– 3 pieces of green construction paper
– 1 piece of black construction paper
– 1 piece of yellow construction paper
– tape
– glue
– scissors
– pencil
How to Make a Leprechaun Hat
1- Take two pieces of green construction paper and tape the short edges together.
2- Tape the other set of short ends together to make a cylinder.
3- Place the cylinder in the middle of the last sheet of green paper.
Using a pencil, trace the inside of the cylinder onto the paper.
4- Trace a circle (a big bowl works great) on the green paper.
Make sure the bowl is bigger than the circle you just traced on.
This will make a brim for the hat.
5- Cut out the outside circle.
6- Using the scissors, cut out a circle from the middle of the circle.
You will want it to be smaller than the circle you have drawn on the paper.
7- Cut slits every inch or so from the circle you just cut to the line you have drawn on the circle.
It should look like rectangles on the inside of the circle.
These teeth-like rectangles will help the top of your hat to connect to the brim.
8- Fold the teeth so they are pointing up.
9- Place the top of the hat (the cylinder) on the brim.
Glue or tape the teeth to the inside of the hat.
To Make the Belt for the Hat
1- Cut two 1 1/2-inch strips along the long edge of the black paper.
2- Cut a large (about three inches tall) square from the yellow paper.
Your square should be larger than your black strip.
Cut a square out of the middle of the square.
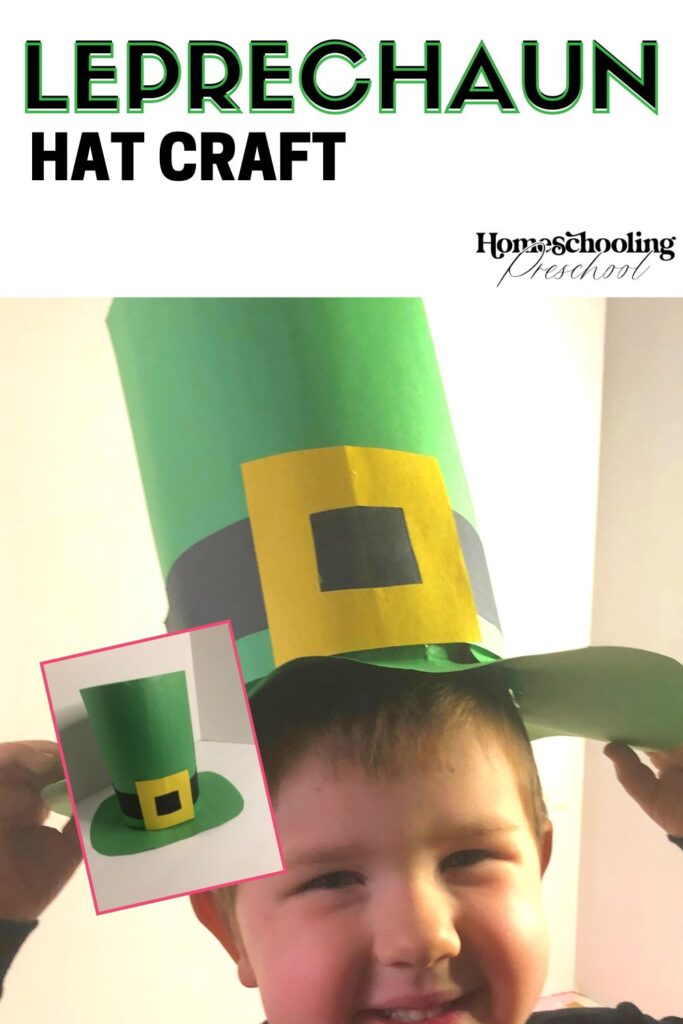
3- Glue the yellow square on the black paper so that the inside of the yellow square now looks black.
4- Glue the black strip with the yellow square onto the front of the leprechaun hat craft.
5- Glue the other strip of black paper to the hat to extend the black strip around the whole leprechaun hat.
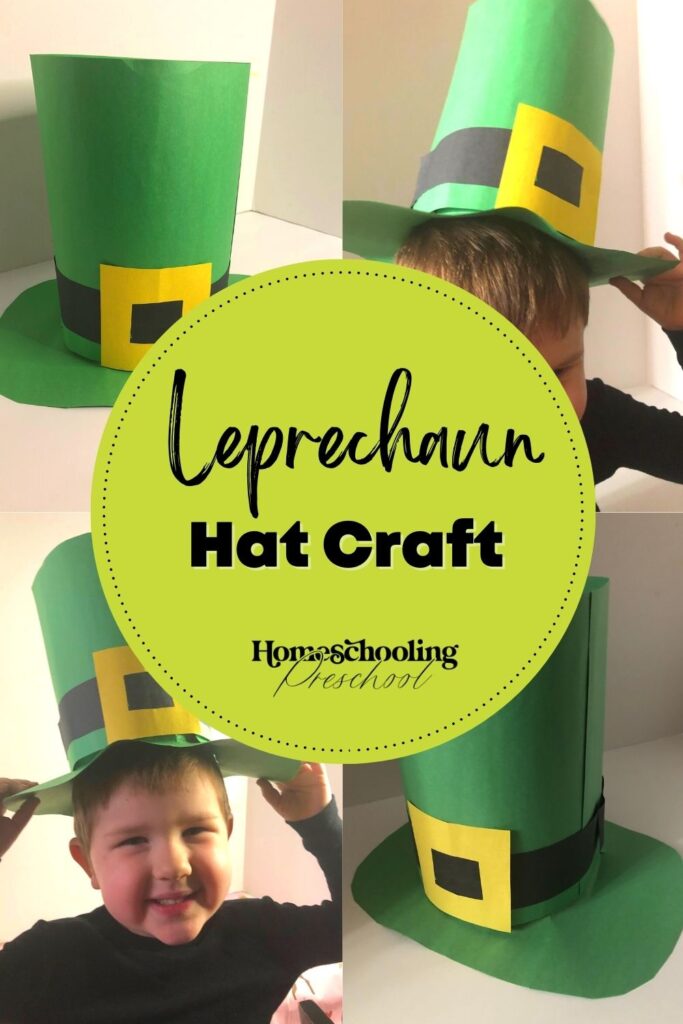
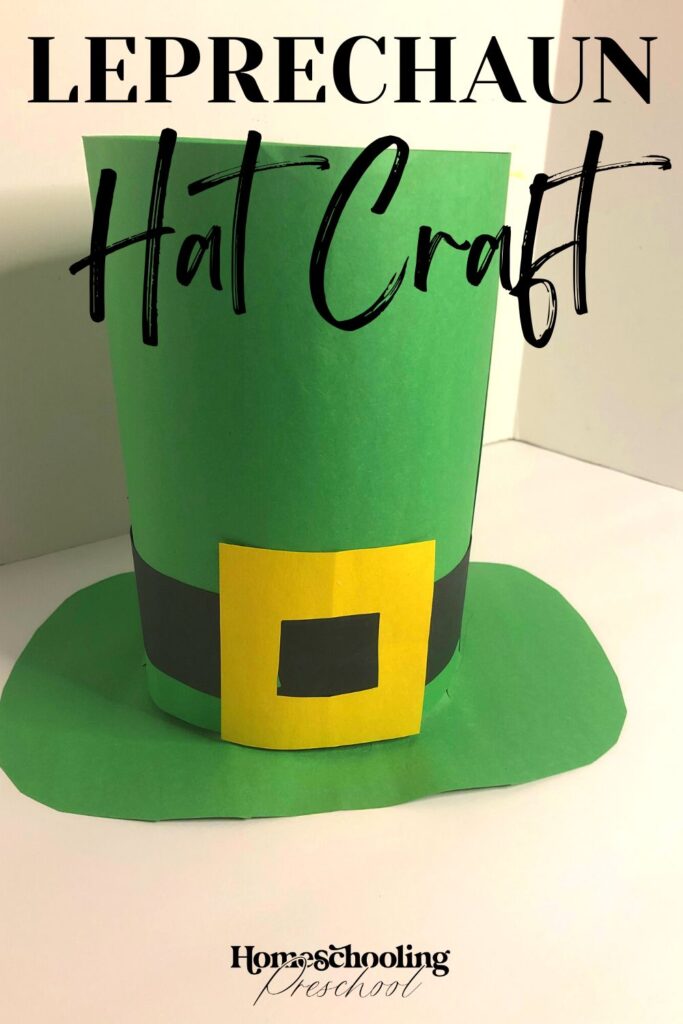
Leprechaun Hat Craft
Let your little one skip into dramatic play after making this leprechaun hat craft.
A craft that can be extended for longer play is always a win in my book.