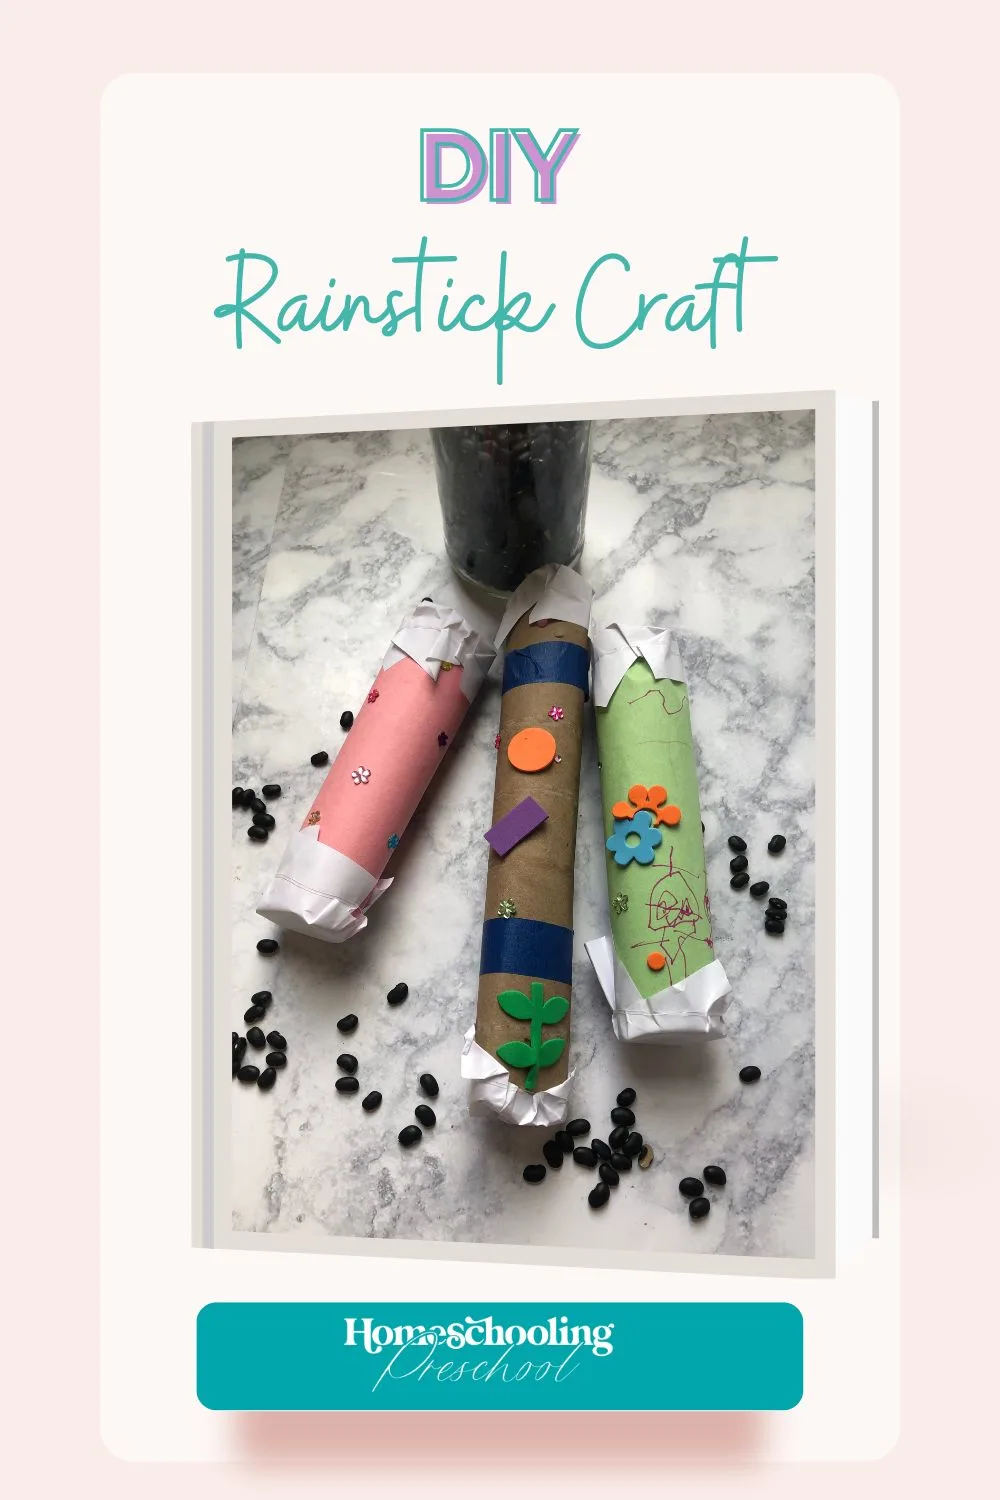
Make a DIY rainstick craft to create a wonderful sensory experience for your preschoolers. All while being creative and making music!

Why Make a DIY Rainstick Craft
Sensory Exploration
When littles make the DIY rainstick craft, they can feel and interact with the tube and the decorations they are putting on.
But the real sensory magic happens once the DIY rainstick craft is complete.
Once the dried beans or rice are added (and the ends are properly closed), littles can make it rain.
Or at least it sounds like it’s raining.
They can experiment with how to make it sound like a light rain and how to make it sound like it is raining cats and dogs.

This article may contain affiliate links to products that may help you when homeschooling preschool.
Fine Motor Skills Are Being Used
Fine motor skills are all the rage when it comes to preschoolers, and for good reason.
Without the tiny muscles in the hand being strong, preschoolers can’t use their hands as well.
This means that the grown-up has to help the preschooler tie their shoes, zip their coats, button their pants, brush their teeth, and about a thousand other things.
Thankfully, there is a way around this.

When you strengthen the hand muscles, little ones can start doing some of these things independently (with practice, of course).
Making a DIY rainstick craft helps build fine motor skills because little ones hold crayons to decorate the tube.
They are sticking on stickers or gluing on pom poms all of which strengthen hand muscles.
Creativity is Encouraged
We know that kids being creative is essential.
But how do we encourage that? By doing open-ended crafts like this one!
Little ones can take creative liberties and make them however they dream without being told how to decorate the DIY rainstick craft.
This encourages creativity and boosts self-confidence in their work because there is no “right way” (or wrong way) to do this craft.

It Can Be Enjoyed After It Is Made
Crafts that double as entertainment after they are done are lovely.
Not only do preschoolers get the joy of making a craft, but they also get to play with it afterward.
It’s like a two-for-one deal.
One craft but two different ways it will entertain your little one.
Once while making the craft and once while making rain sounds after the craft is done.
Reduce, Reuse, Recycle in Action
Because this craft is reusing an item that would have been thrown out, it is a great time to talk about reducing, reusing, and recycling items to help out planet Earth.

Materials Needed
- paper towel roll (or two toilet paper rolls taped together)
- items to decorate with (stickers, markers, foam decorations, construction paper, etc.)
- glue stick
- dry rice or beans
- rubberbands
- piece of copy paper

How to Make a DIY Rainstick
1. Place all the decorating items out on the table.
2. Give your little one the paper towel tube to start decorating.
If they want to change the color, wrap the construction paper around first before decorating. Measure the size needed and cut to size.
This way, their hard work doesn’t get cut off or covered up (hopefully saving you some tears).

3. Attach the decorations to the tube using glue if the items don’t have a sticky back.
4. Cut squares of paper for the ends of the paper towel tube. The goal is to have the paper much larger than the end of the tube.
5. Attach the square of paper to ONE of the ends of the tube using a rubber band.

6. Pour dry rice or dry beans into the tube. A little goes a long way.
Filling it too much won’t allow the rain sound to happen as clearly.
7. Attach the other square paper to the open end of the tube using a rubber band.
8. Enjoy making it rain with the DIY rainstick craft.

Preschool Rainstick Craft
From reusing items lying around to making music with your little one, this DIY rainstick craft is a win.
Not only is making the craft an experience, but so is the use of the craft after it is completed.
